Each Business Location maintains its own inventory, reports, and users, allowing you to monitor performance separately while keeping everything under one account.
Before You Start
- Ensure your subscription supports multiple locations.
- Have the correct address and contact details for each branch.
- Confirm you have permission to add or edit locations.
Steps
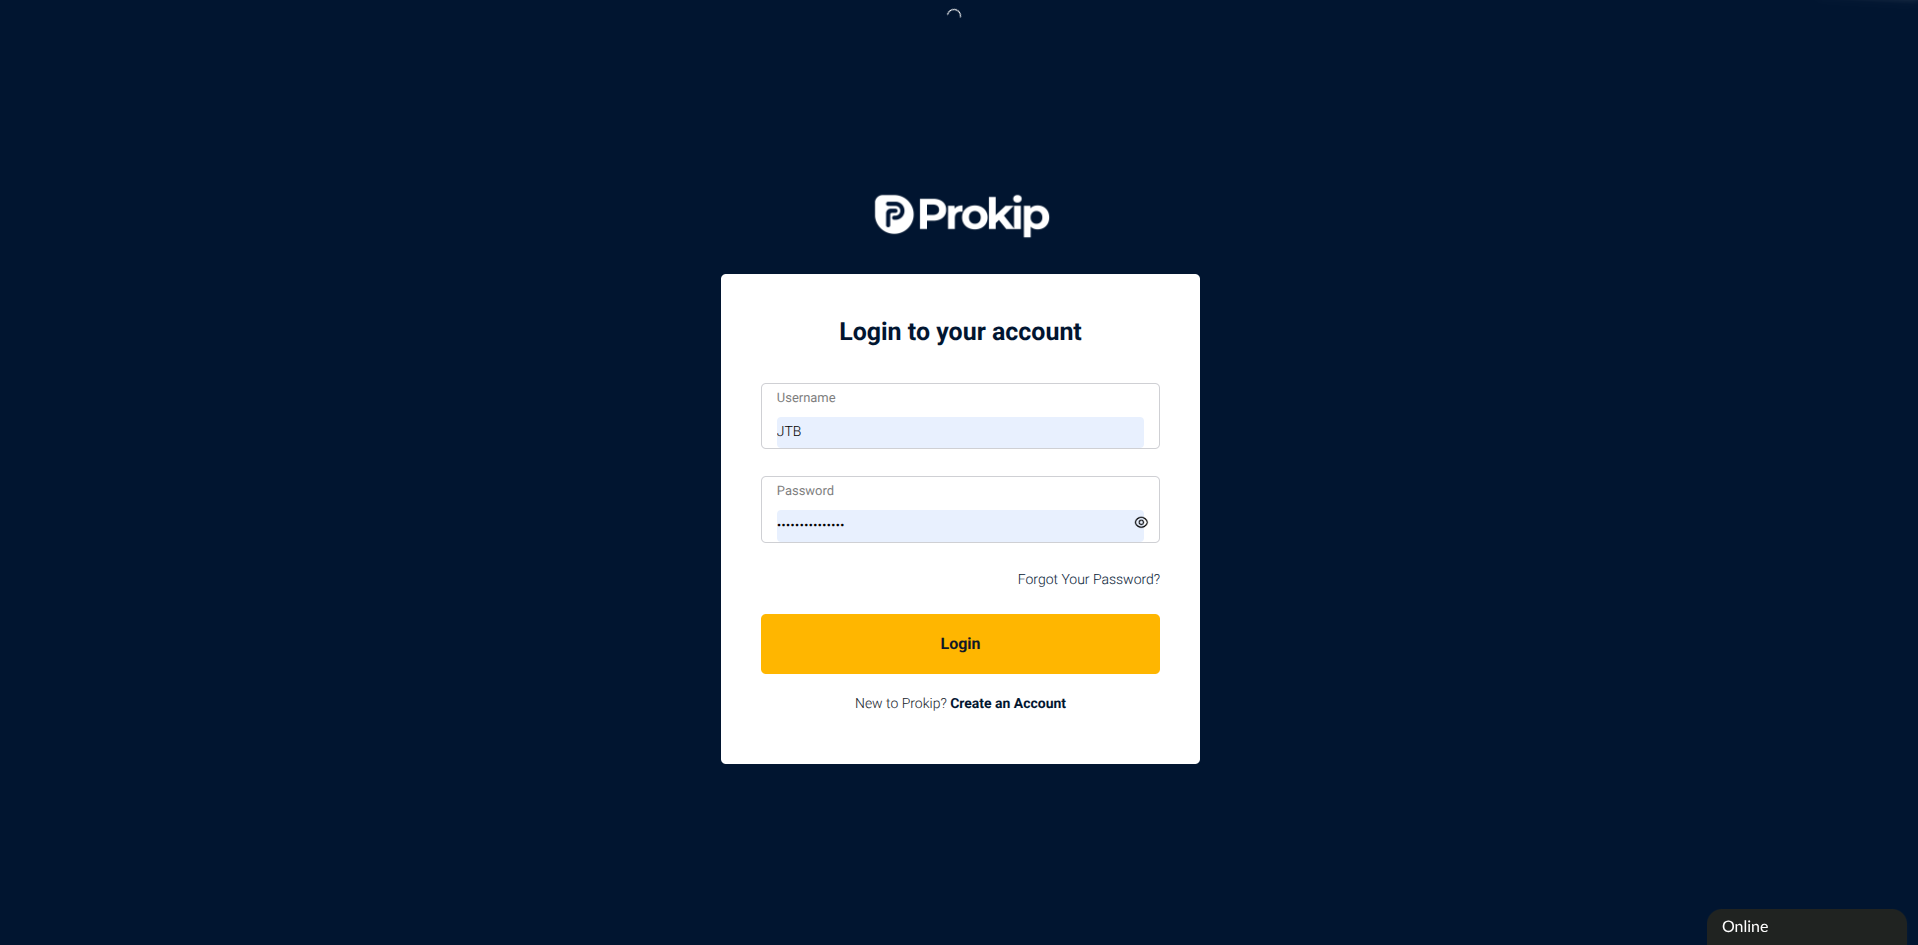
Step 1. Log in to your Prokip account.
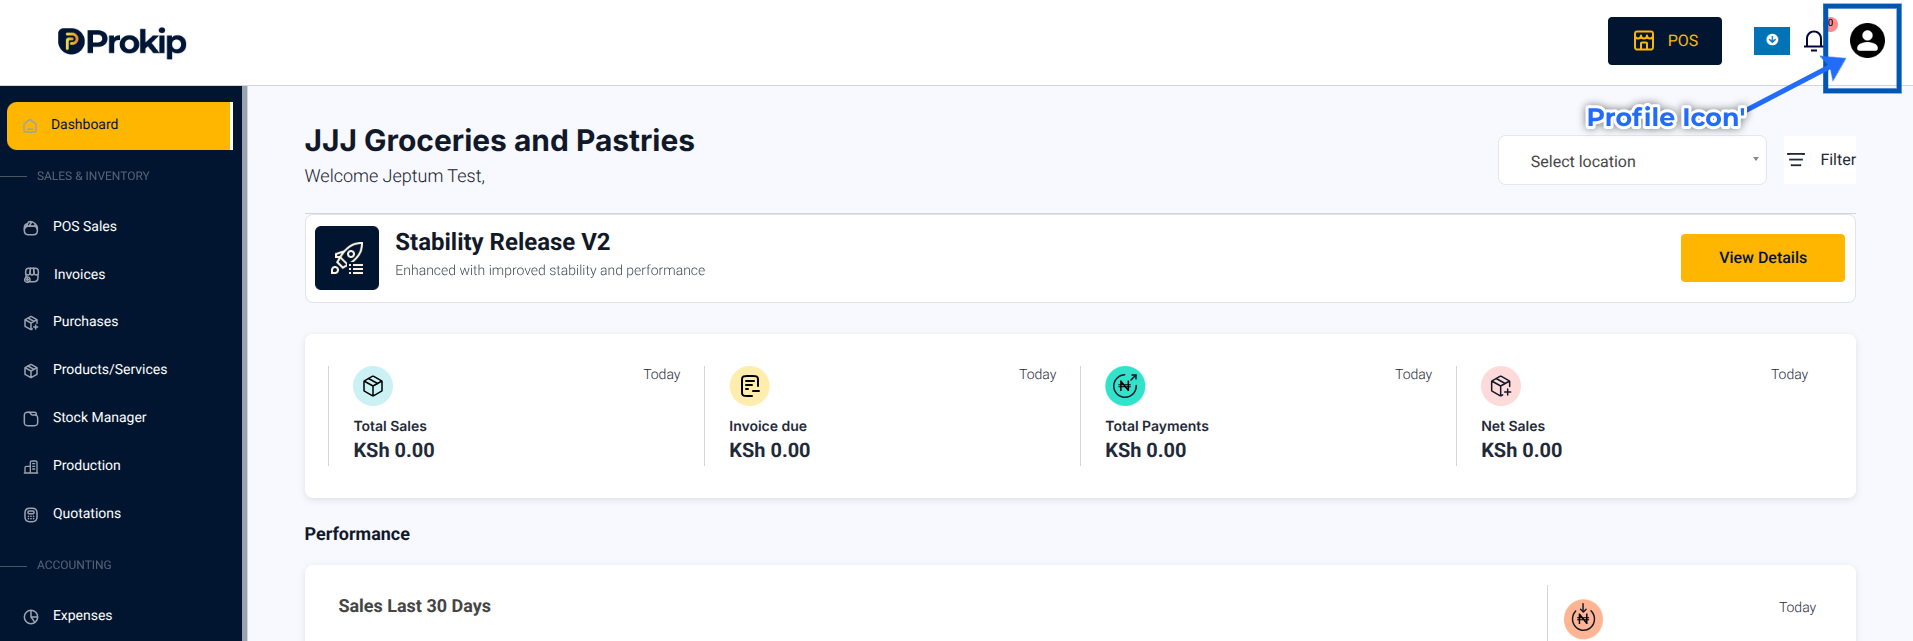
Step 2. Click on your Profile Icon in the top-right corner.
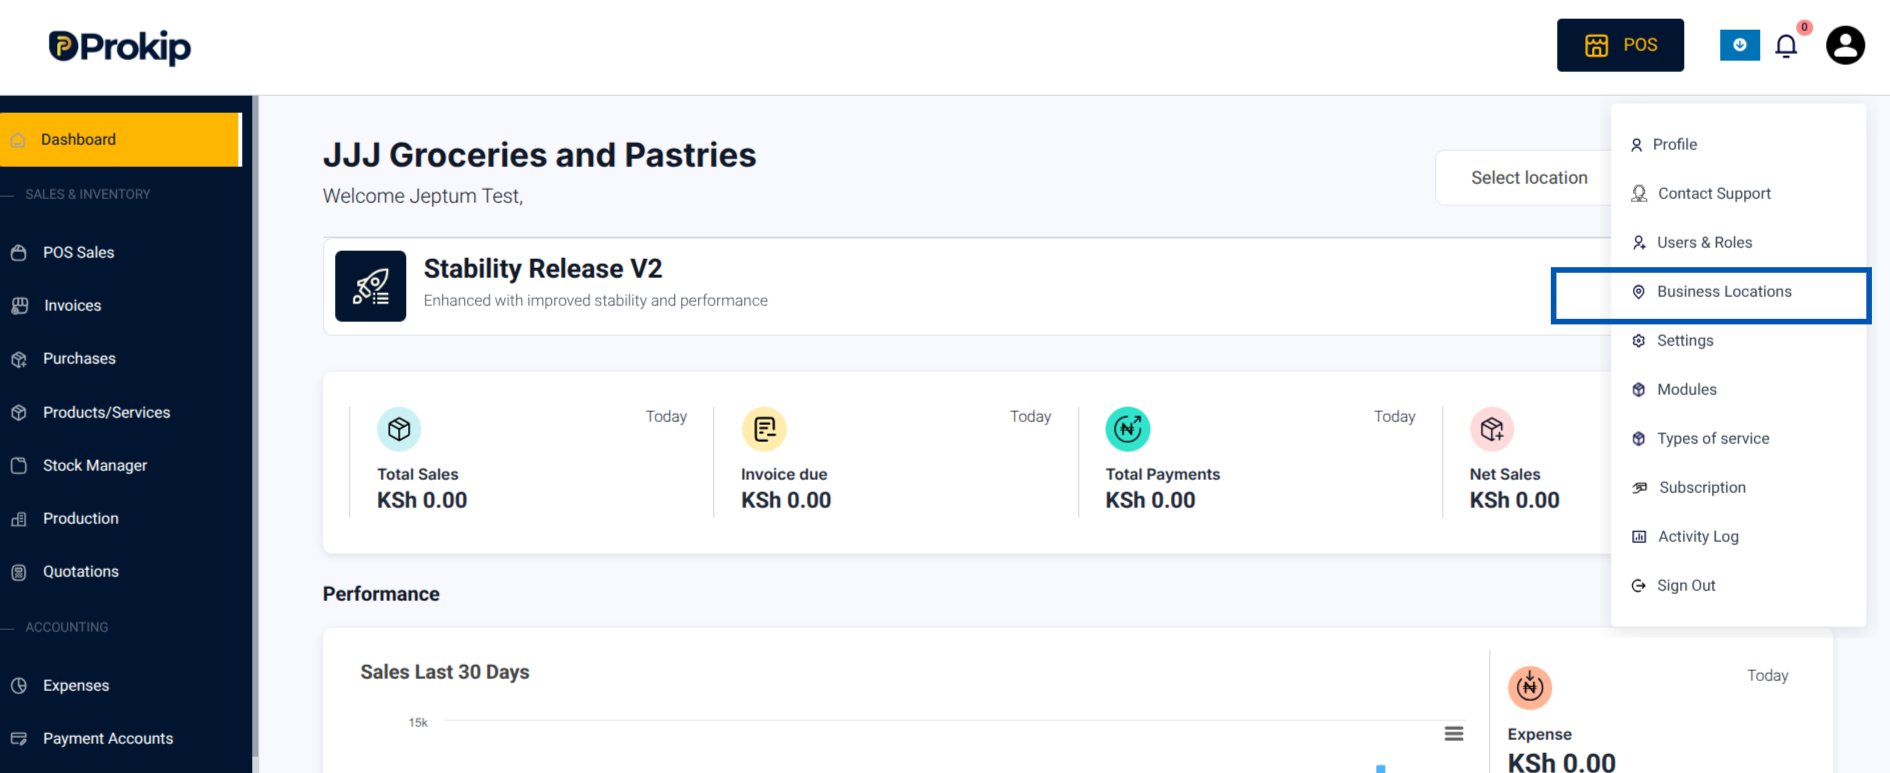
Step 3. From the menu, select Business Locations.
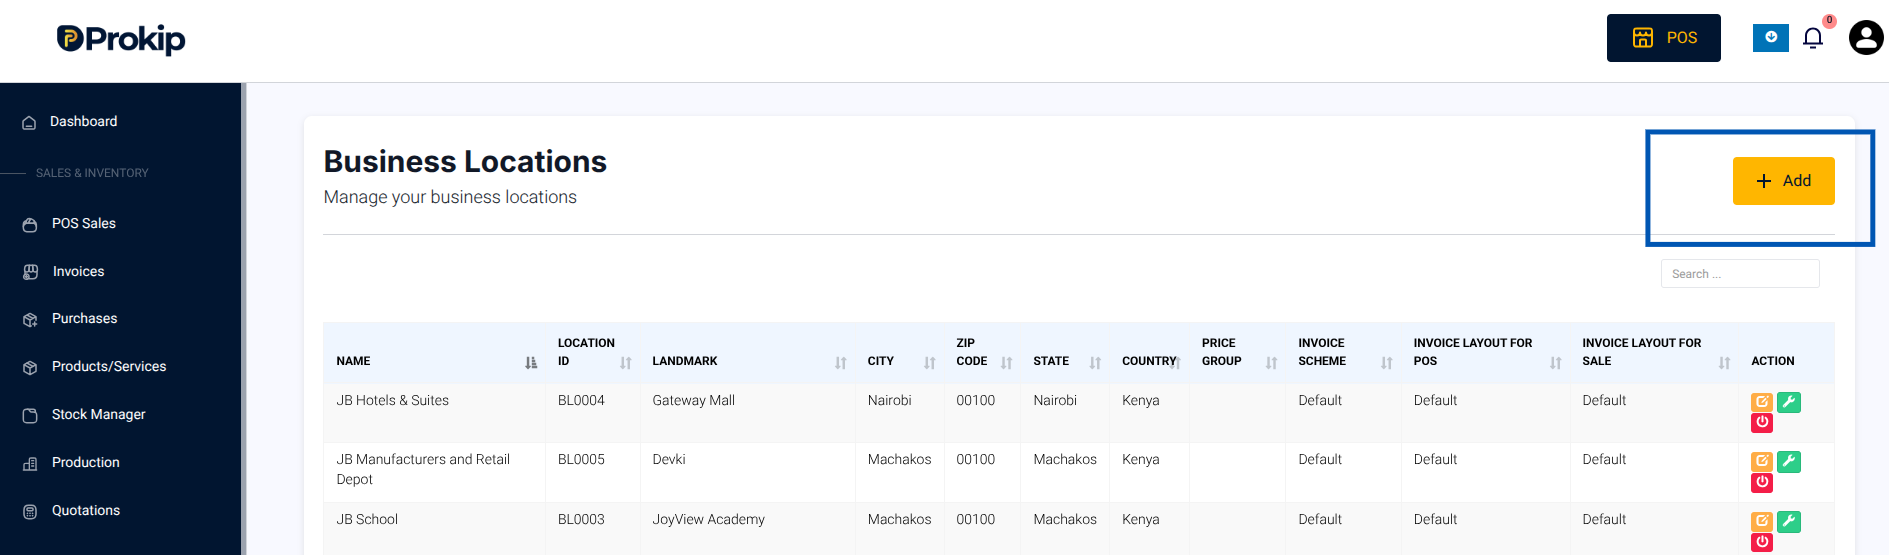
Step 4. Click Add
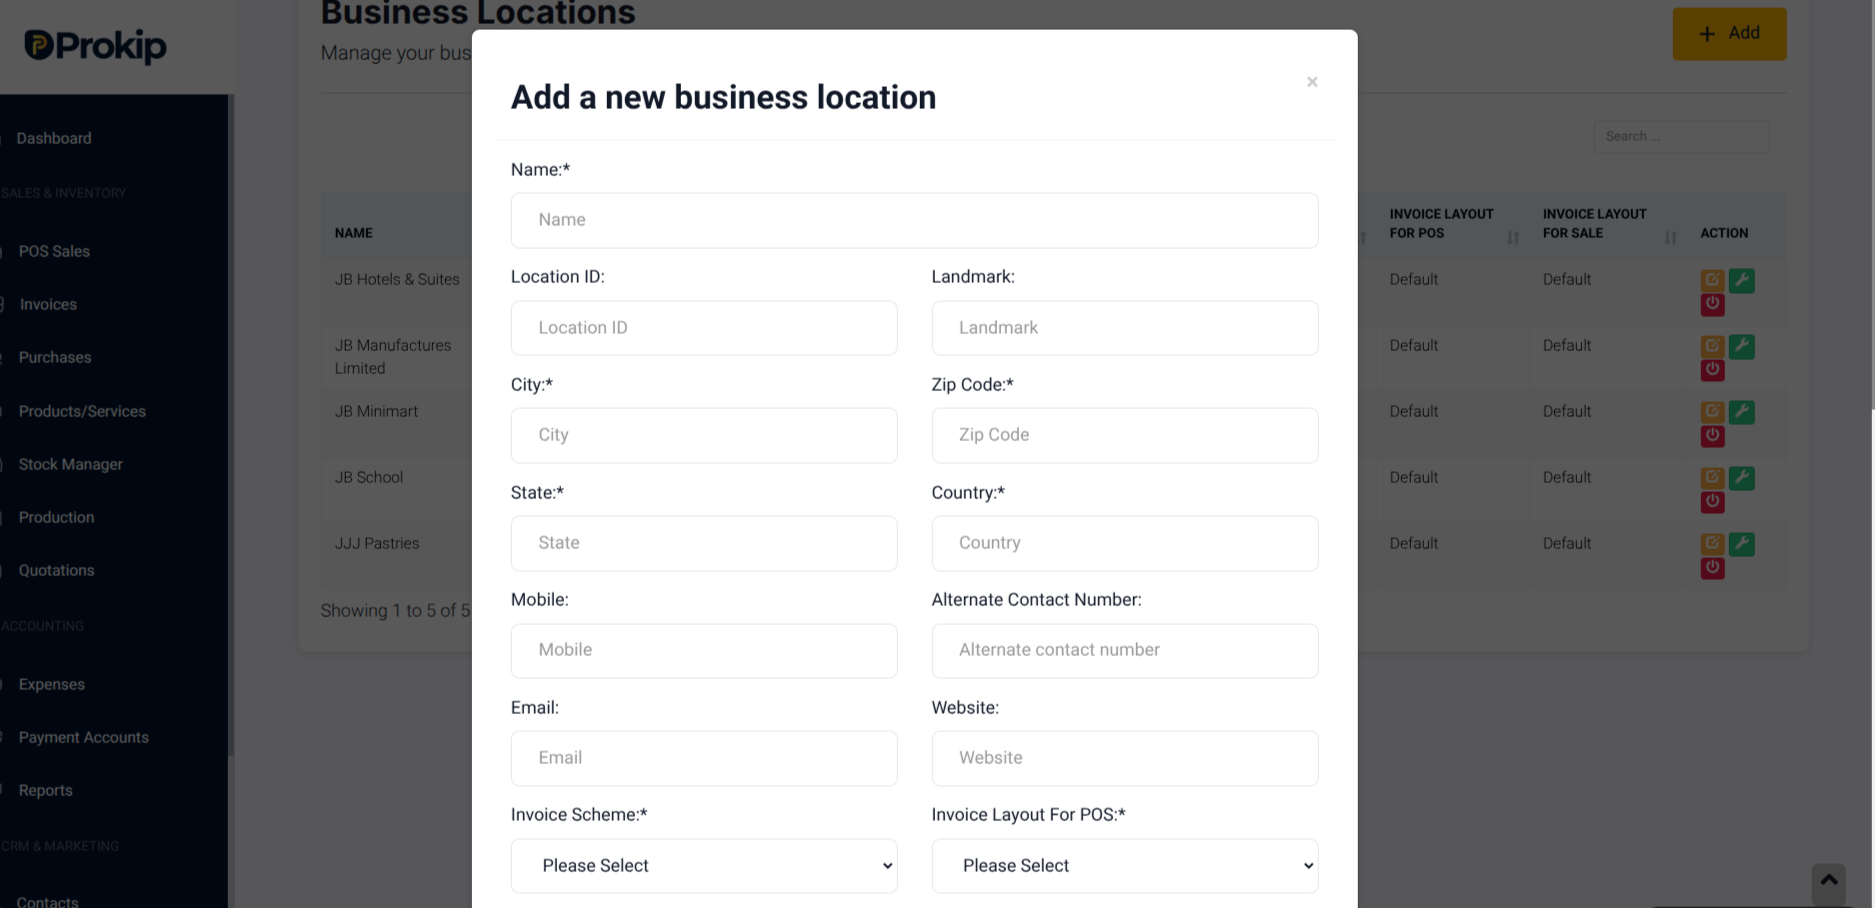
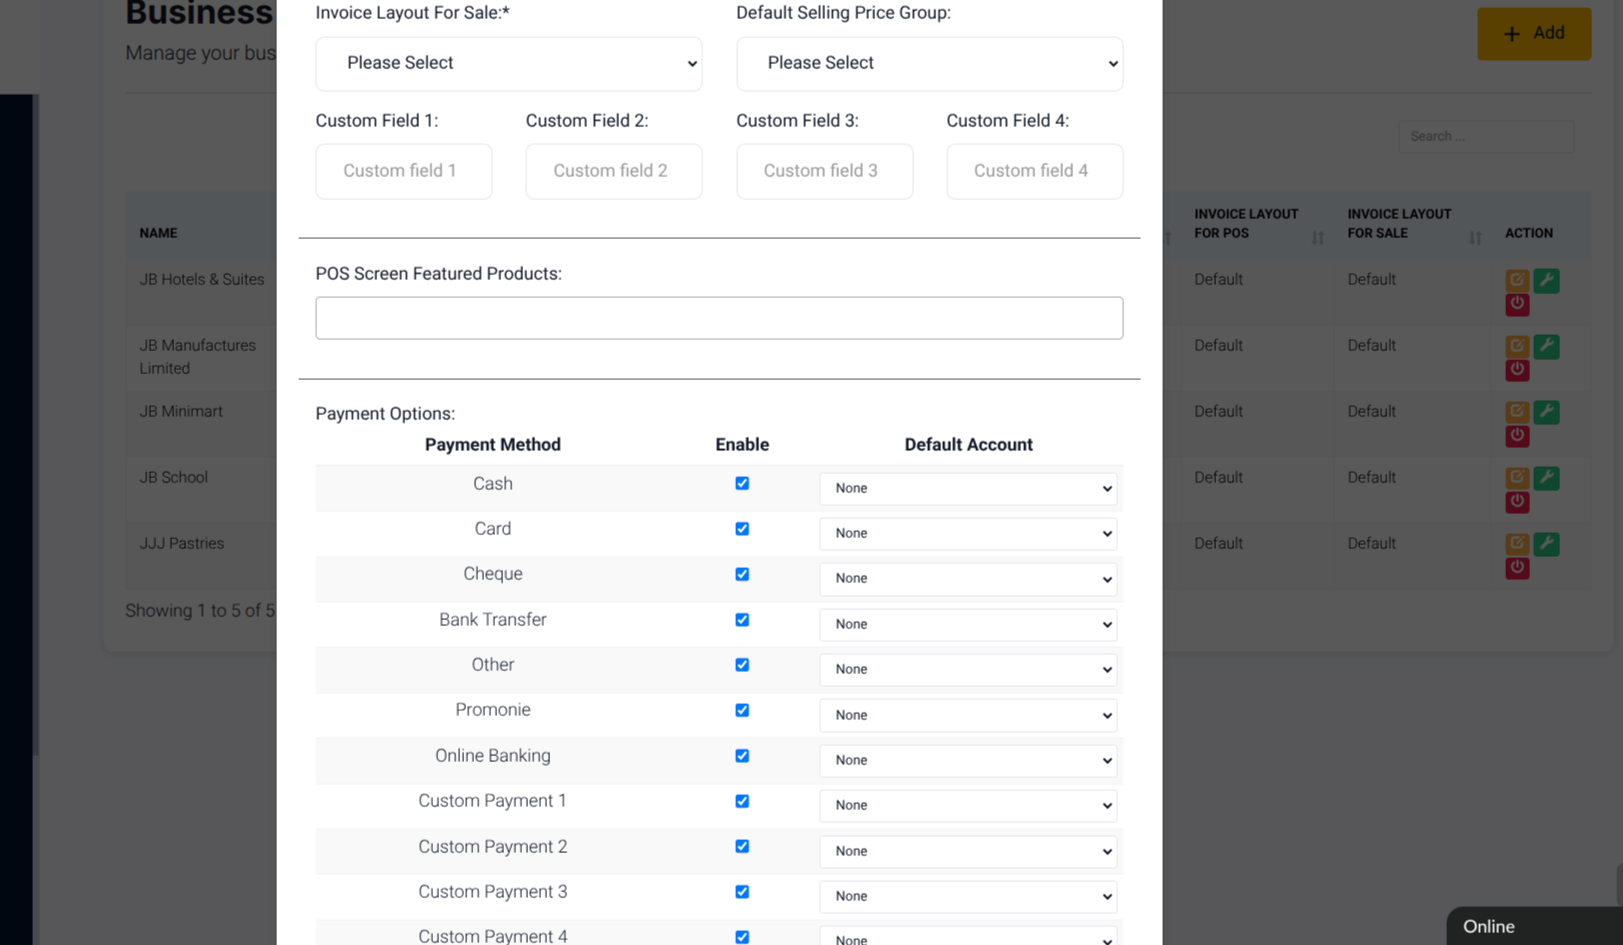
Step 5. Fill in details such as:
- Location Name
- Address
- Contact Details
- Invoice scheme
- Invoice layout for POS
- Payment Method
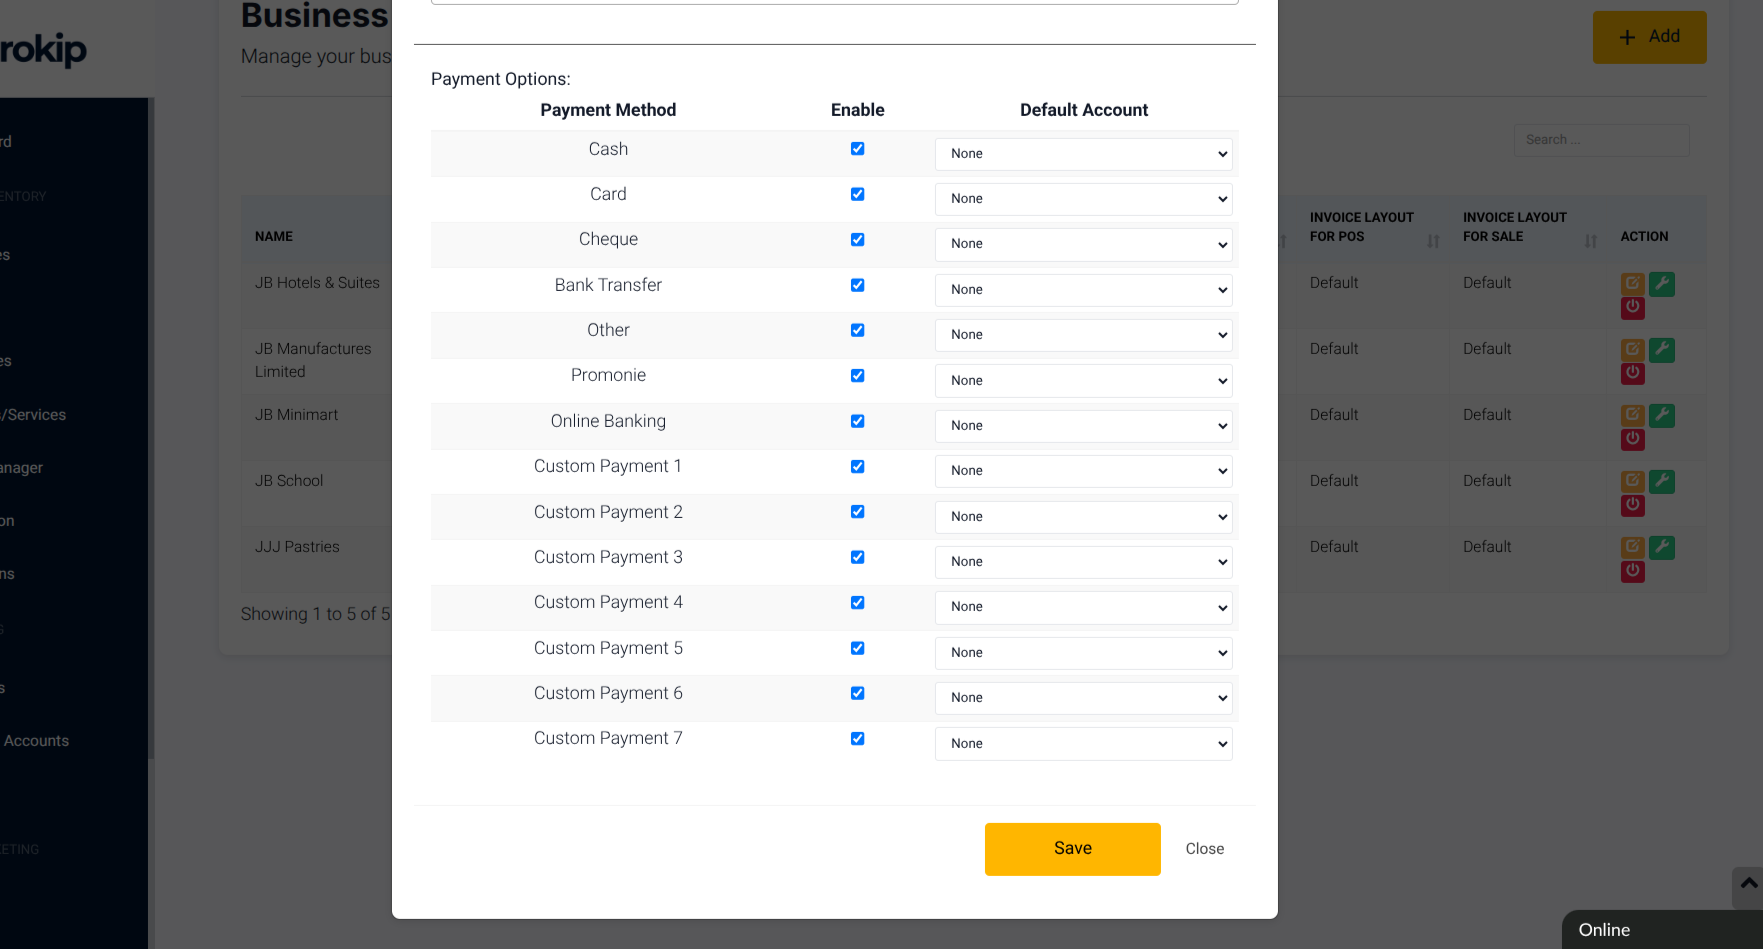
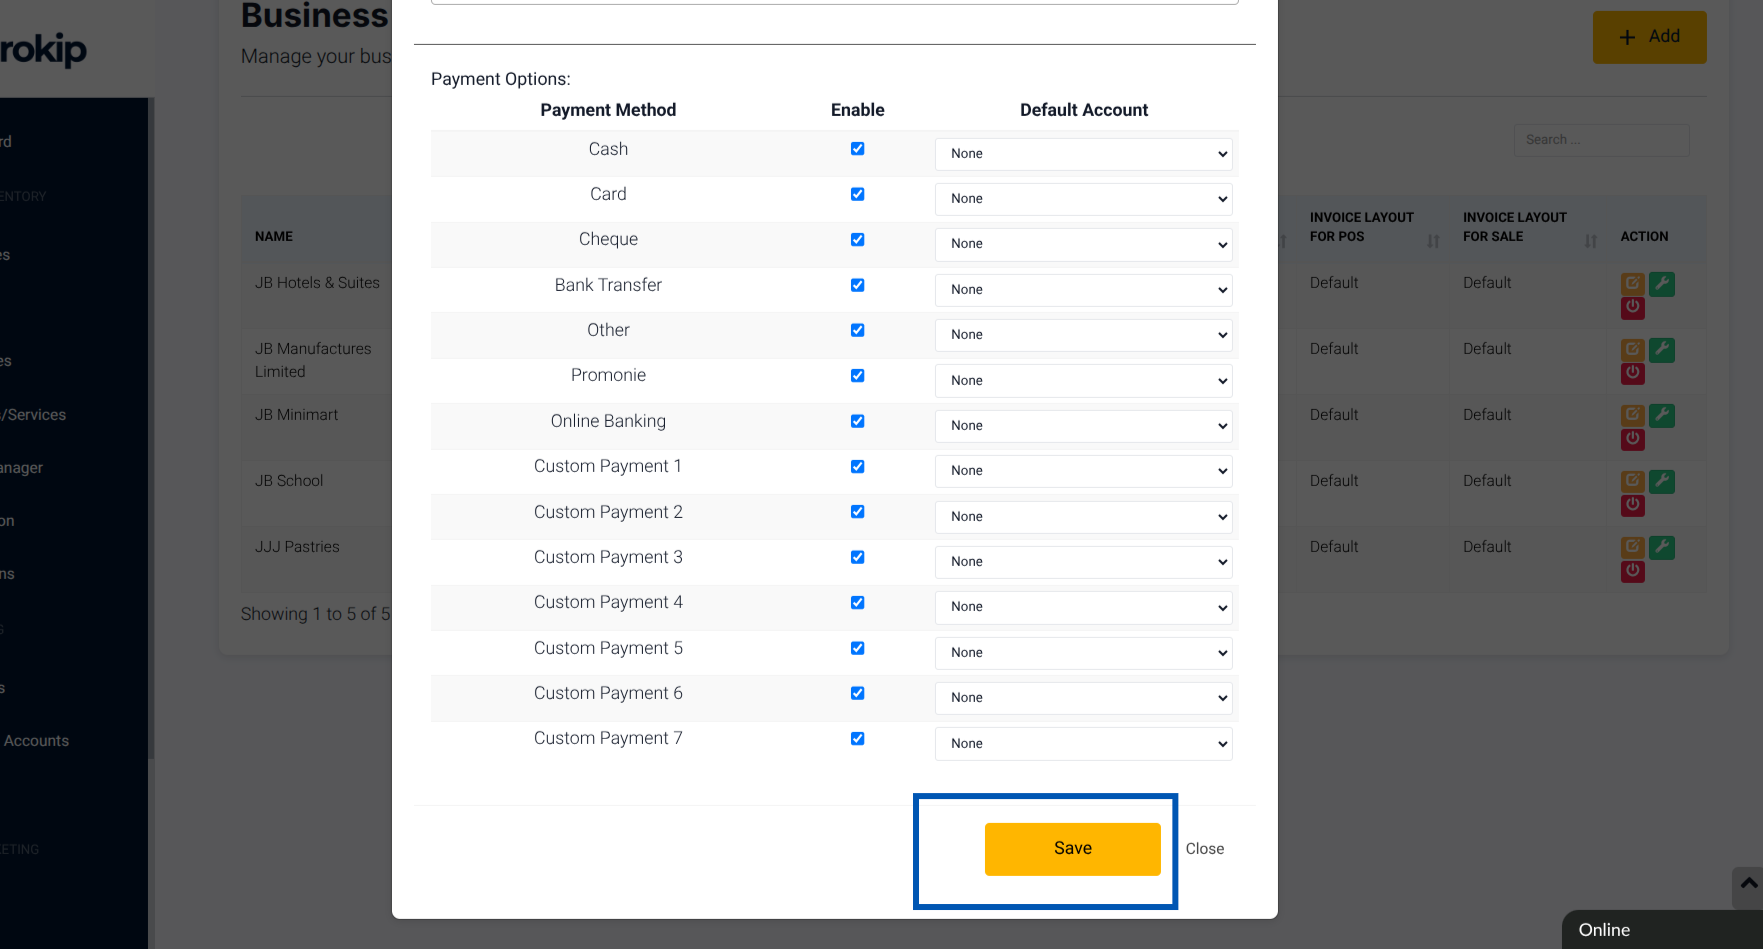
Step 6. Click Save.
What Happens Next
Your new location will appear in POS, reports, and inventory.
You can assign users, products, and stock to it.