Overview
This guide explains how to:
-
Set up VAT
-
Apply VAT automatically to all sales or selected products
-
Display VAT separately on invoices
-
Sync tax settings with the Desktop App
Step 1: Create VAT Tax Rate
Before applying tax, you must first create it.
Navigation
Products / Services → Tax Rates → Add
Setup
-
Tax Name: VAT
-
Rate: (e.g., 7.5%)
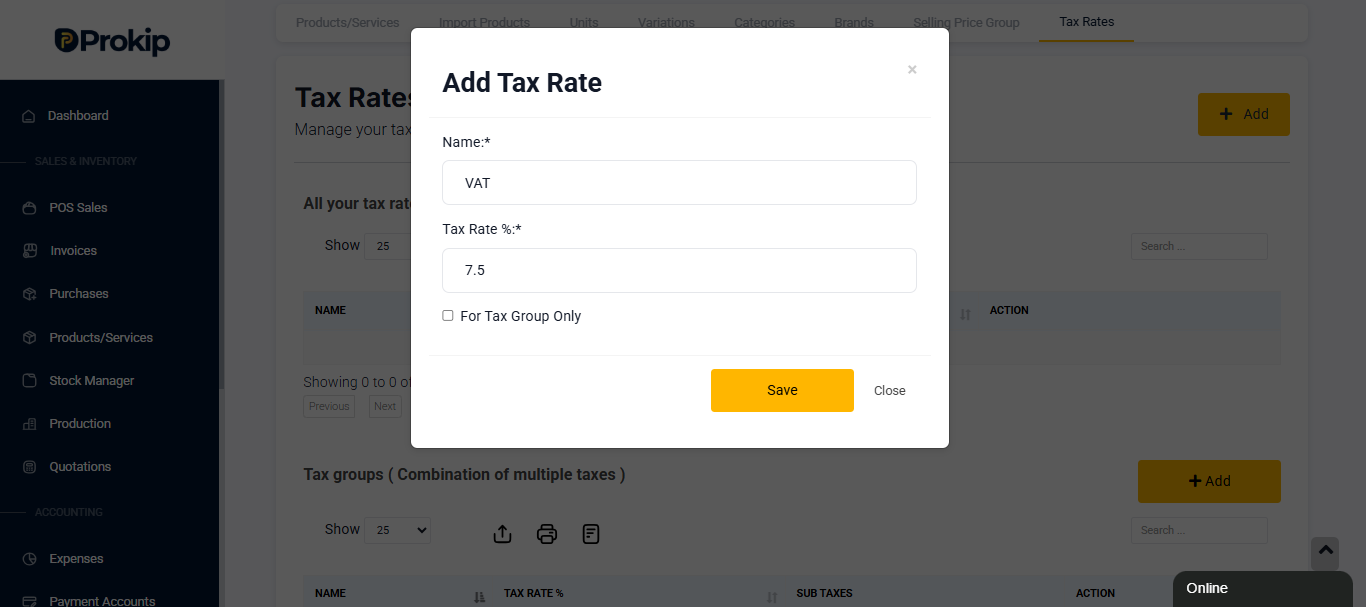
Click Save.
VAT is now available for use in sales and invoices.
Step 2: Apply VAT Automatically to All Sales (Invoice & POS)
To ensure VAT is applied automatically to every sale:
Navigation
Profile Icon → Settings → Sales Settings
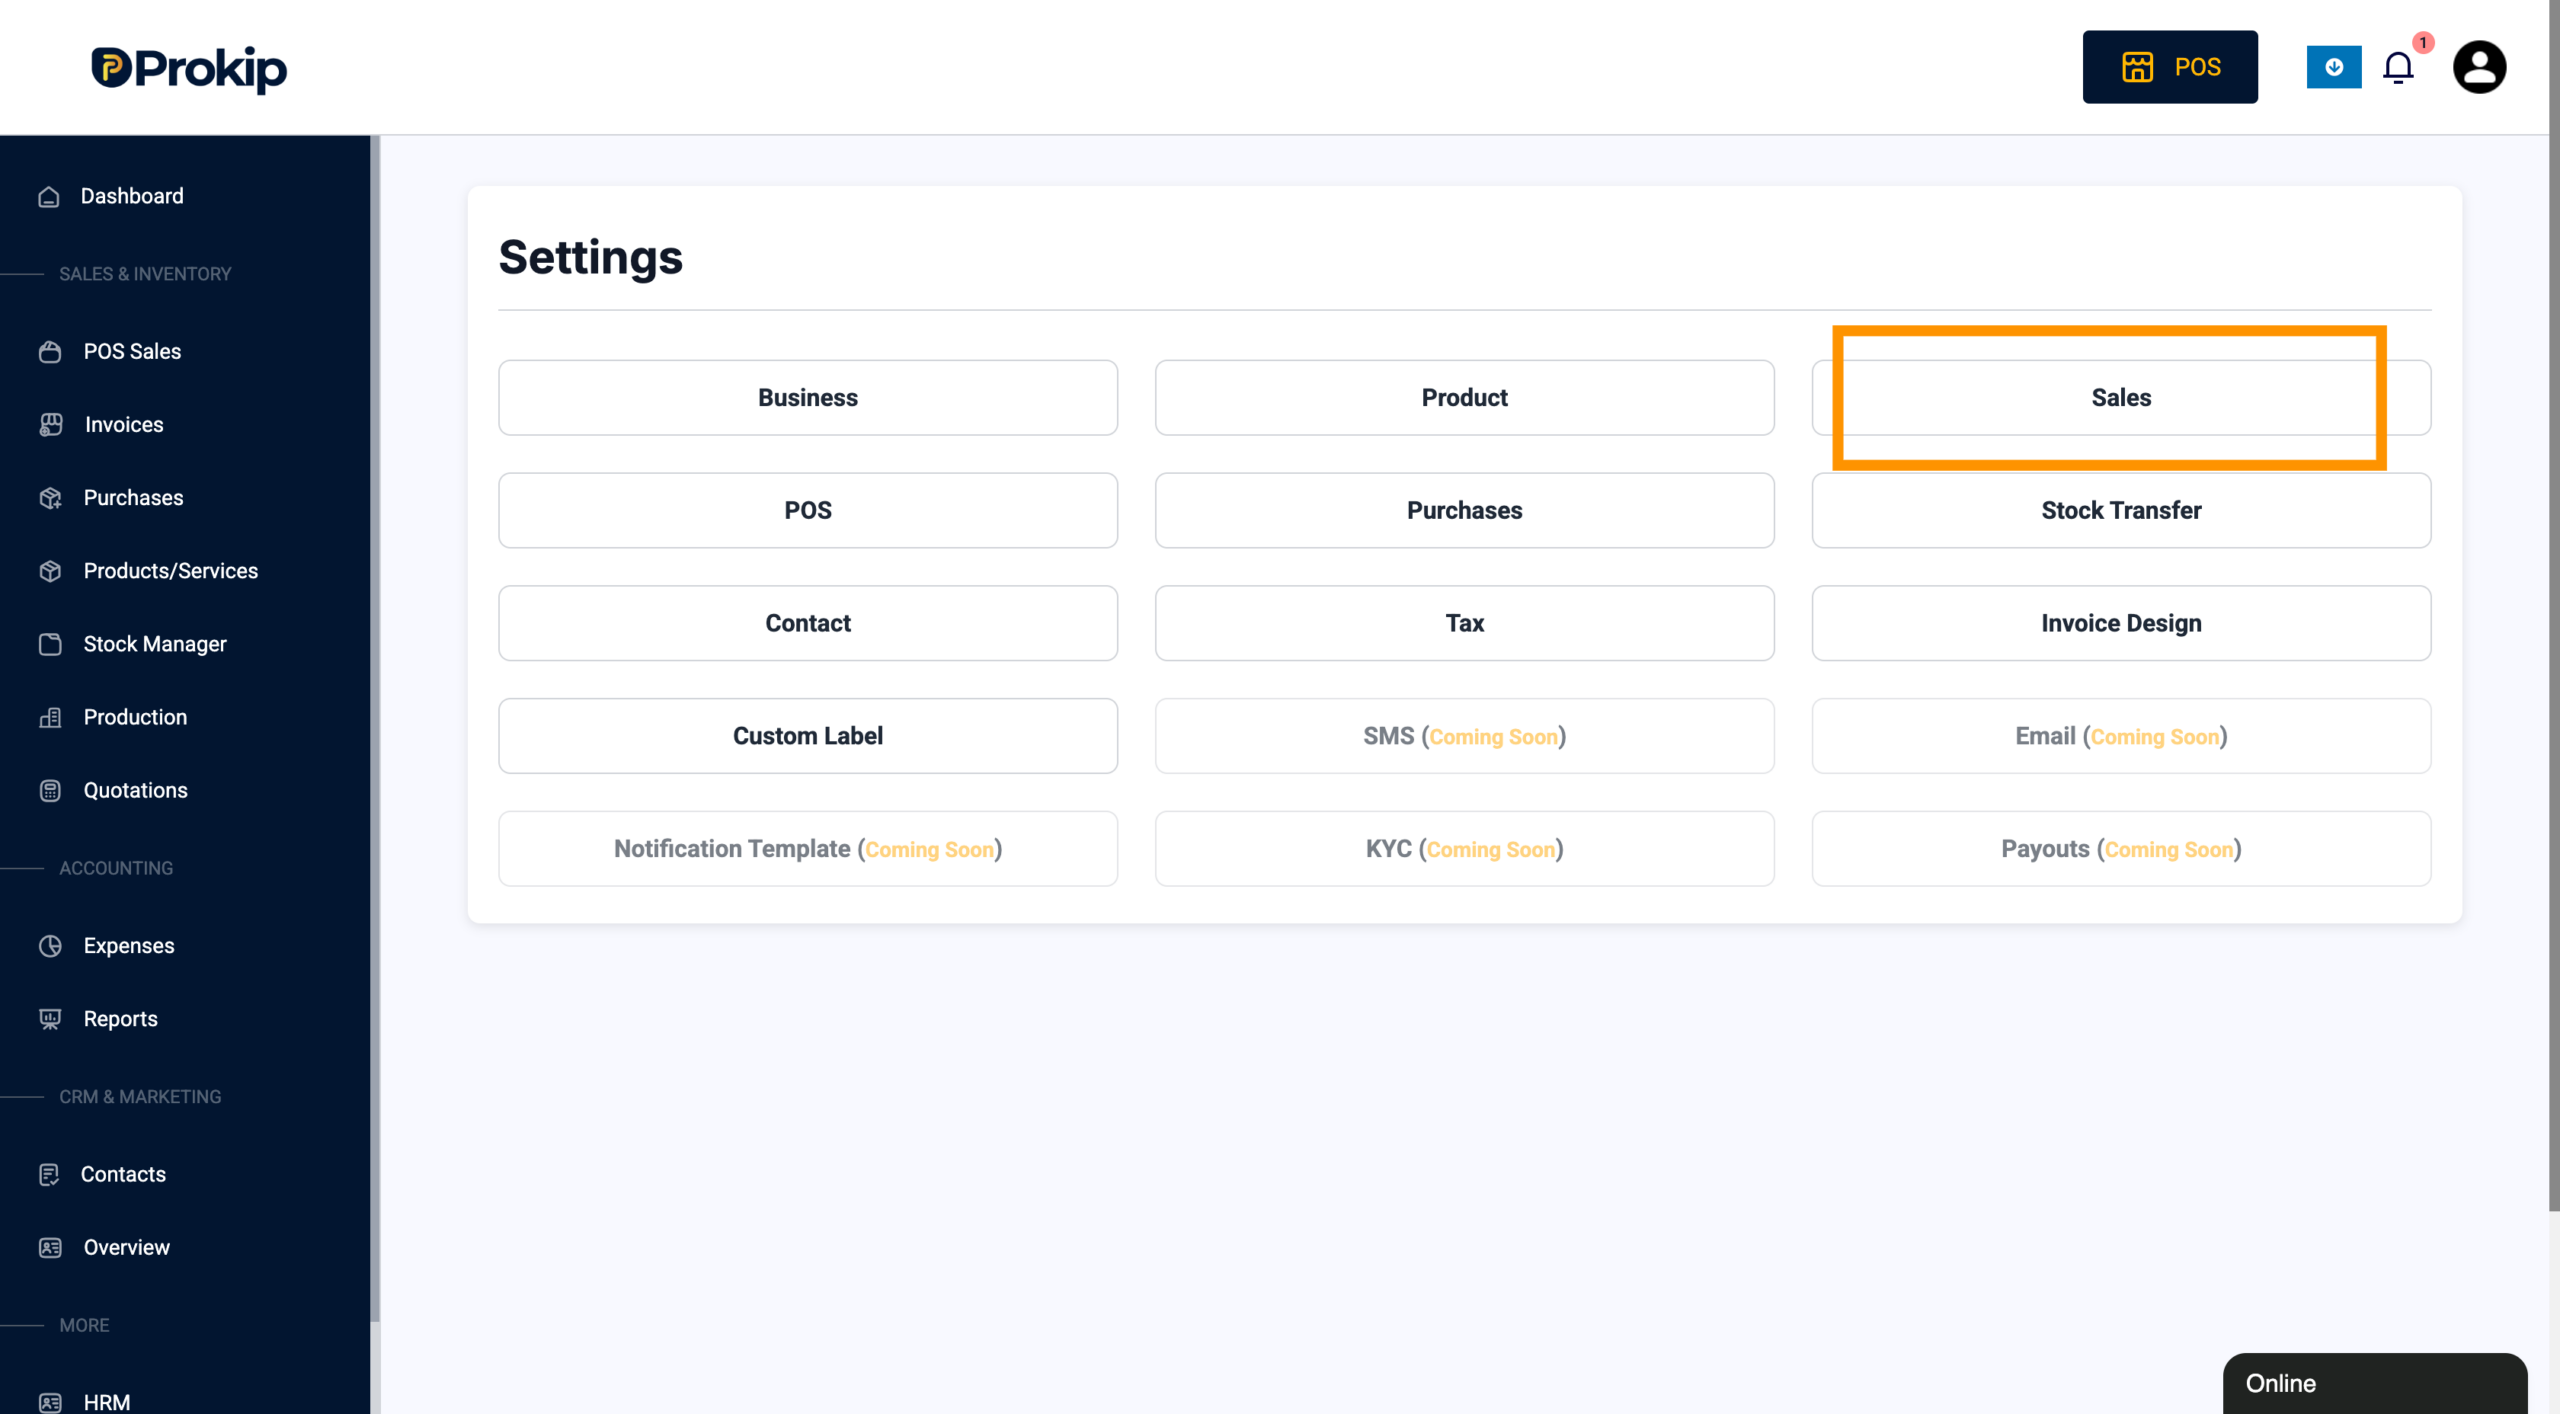
Setup
-
Locate Default Sales Tax
-
Select VAT
-
Click Save
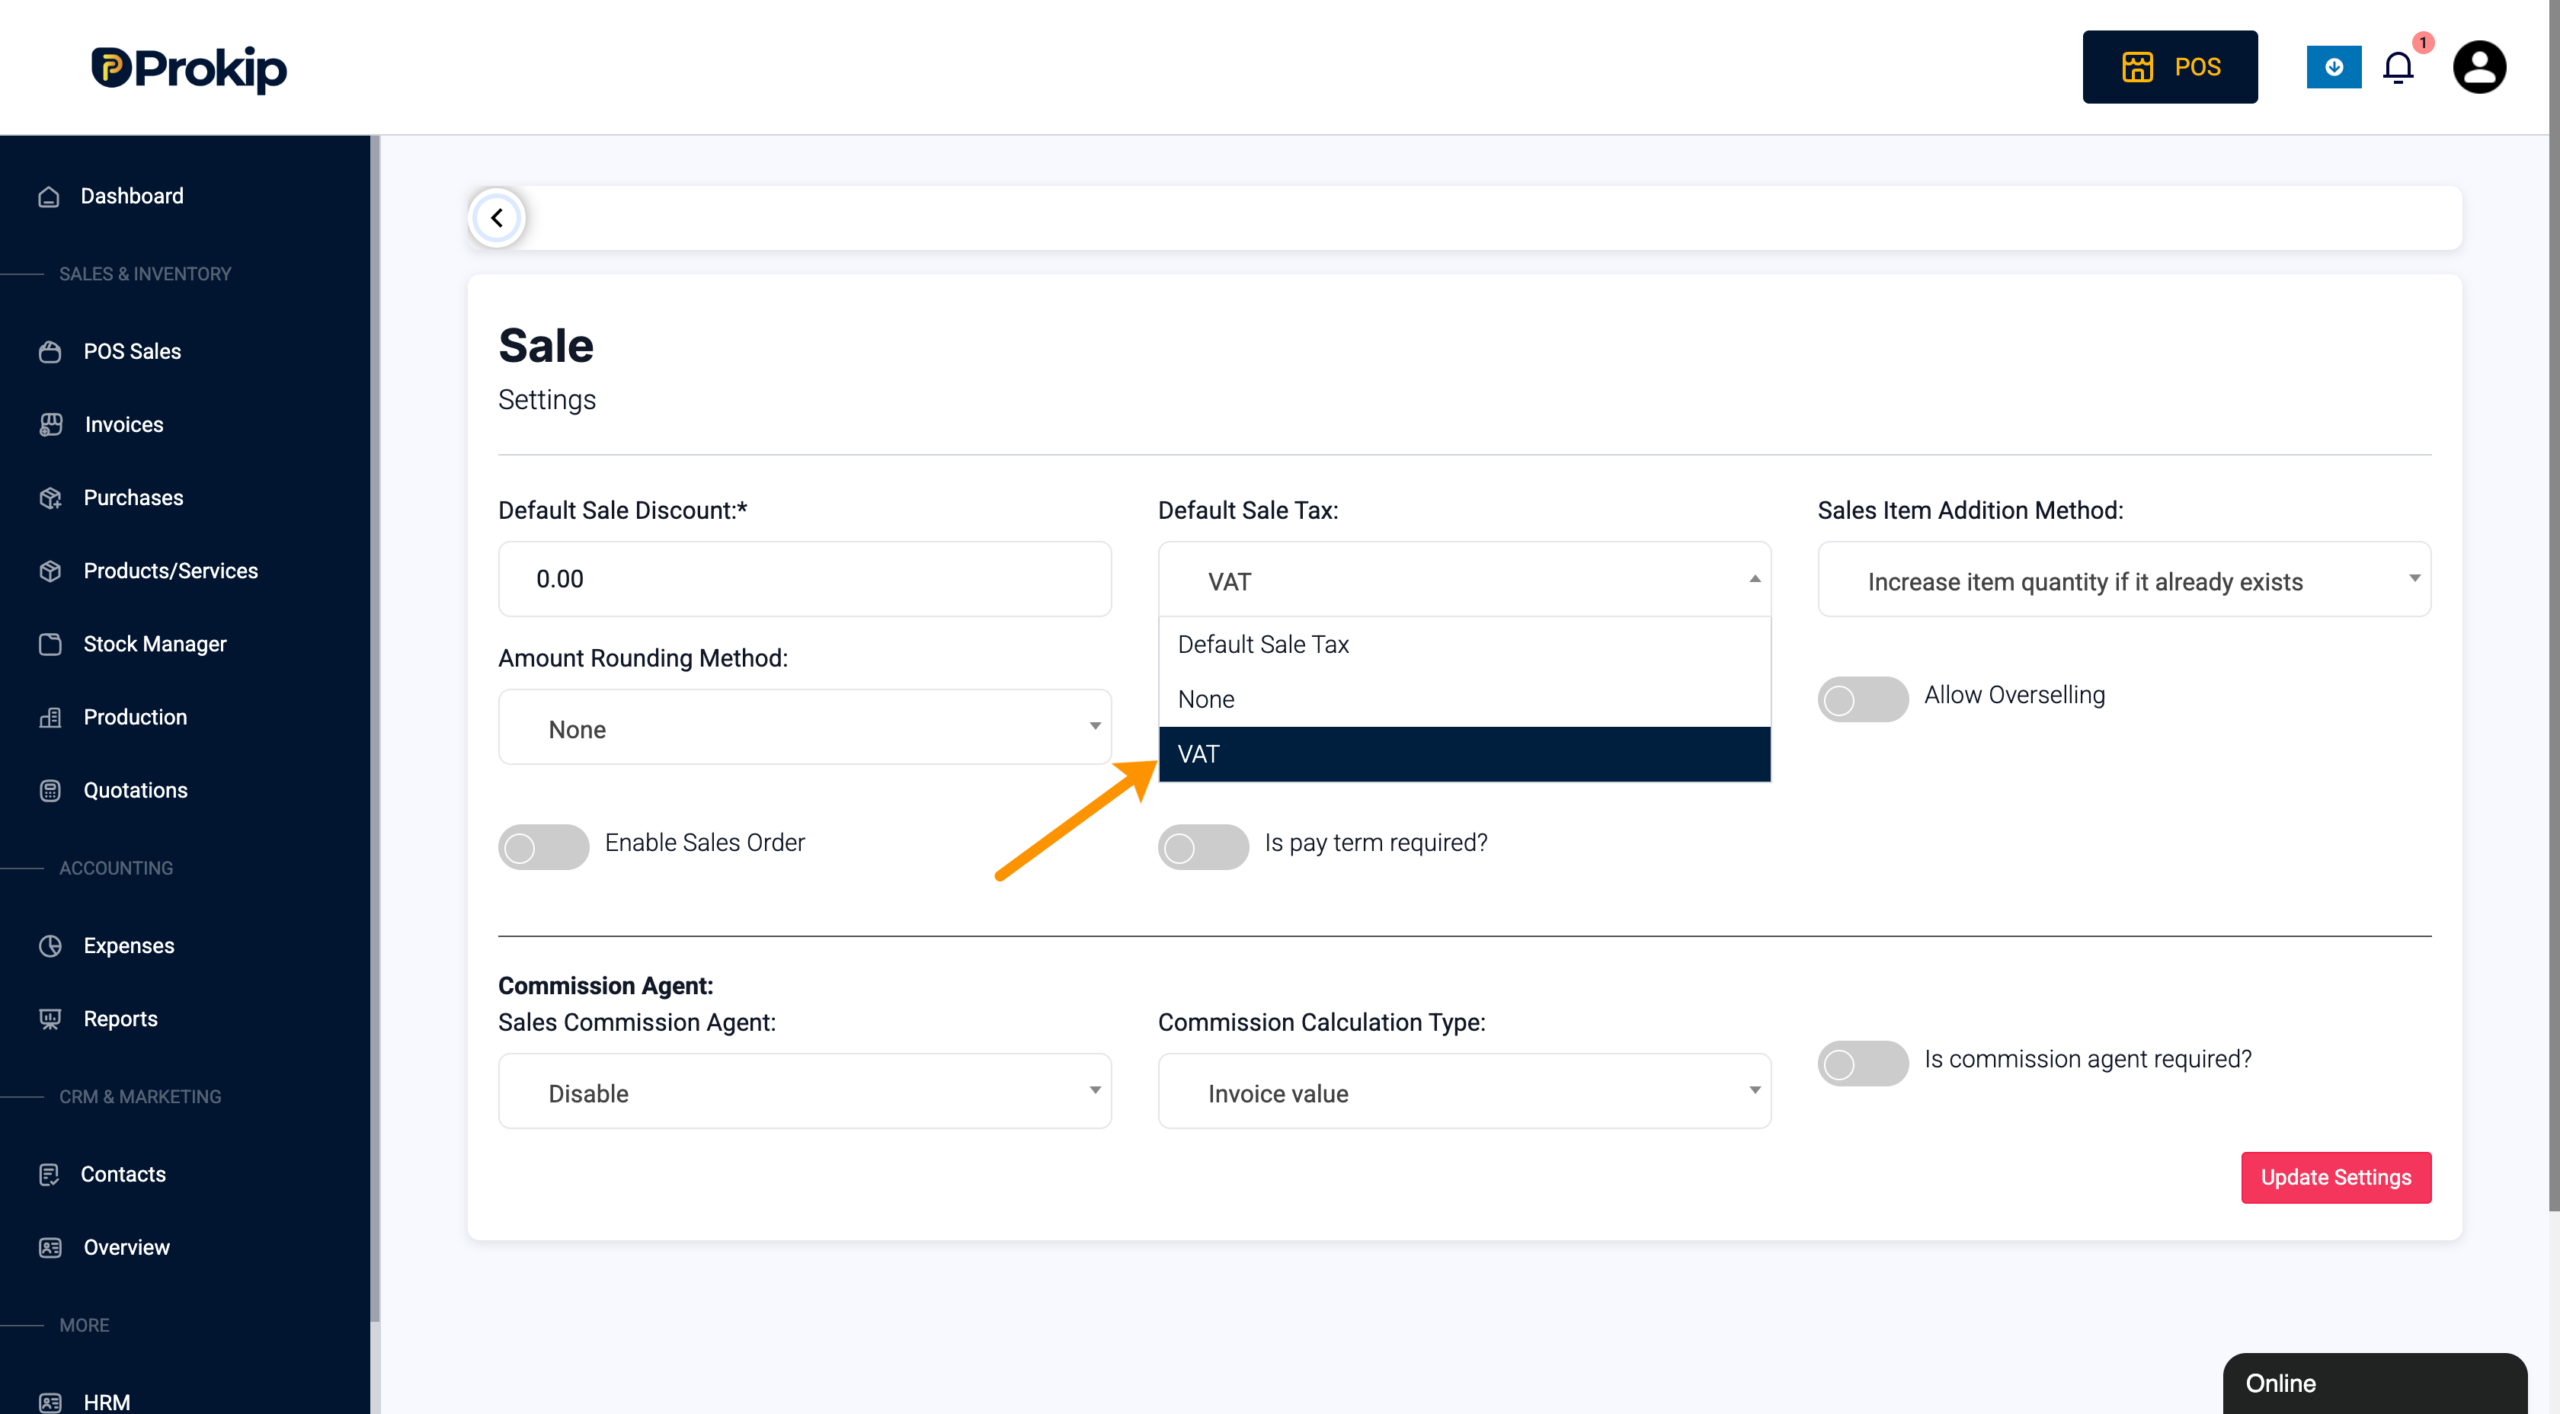
VAT will now be automatically applied to:
-
All invoices
-
POS transactions
Step 3: Show VAT Separately on Invoices
To display VAT clearly instead of including it in the total:
Navigation
Settings → Invoice Design → Default Layout
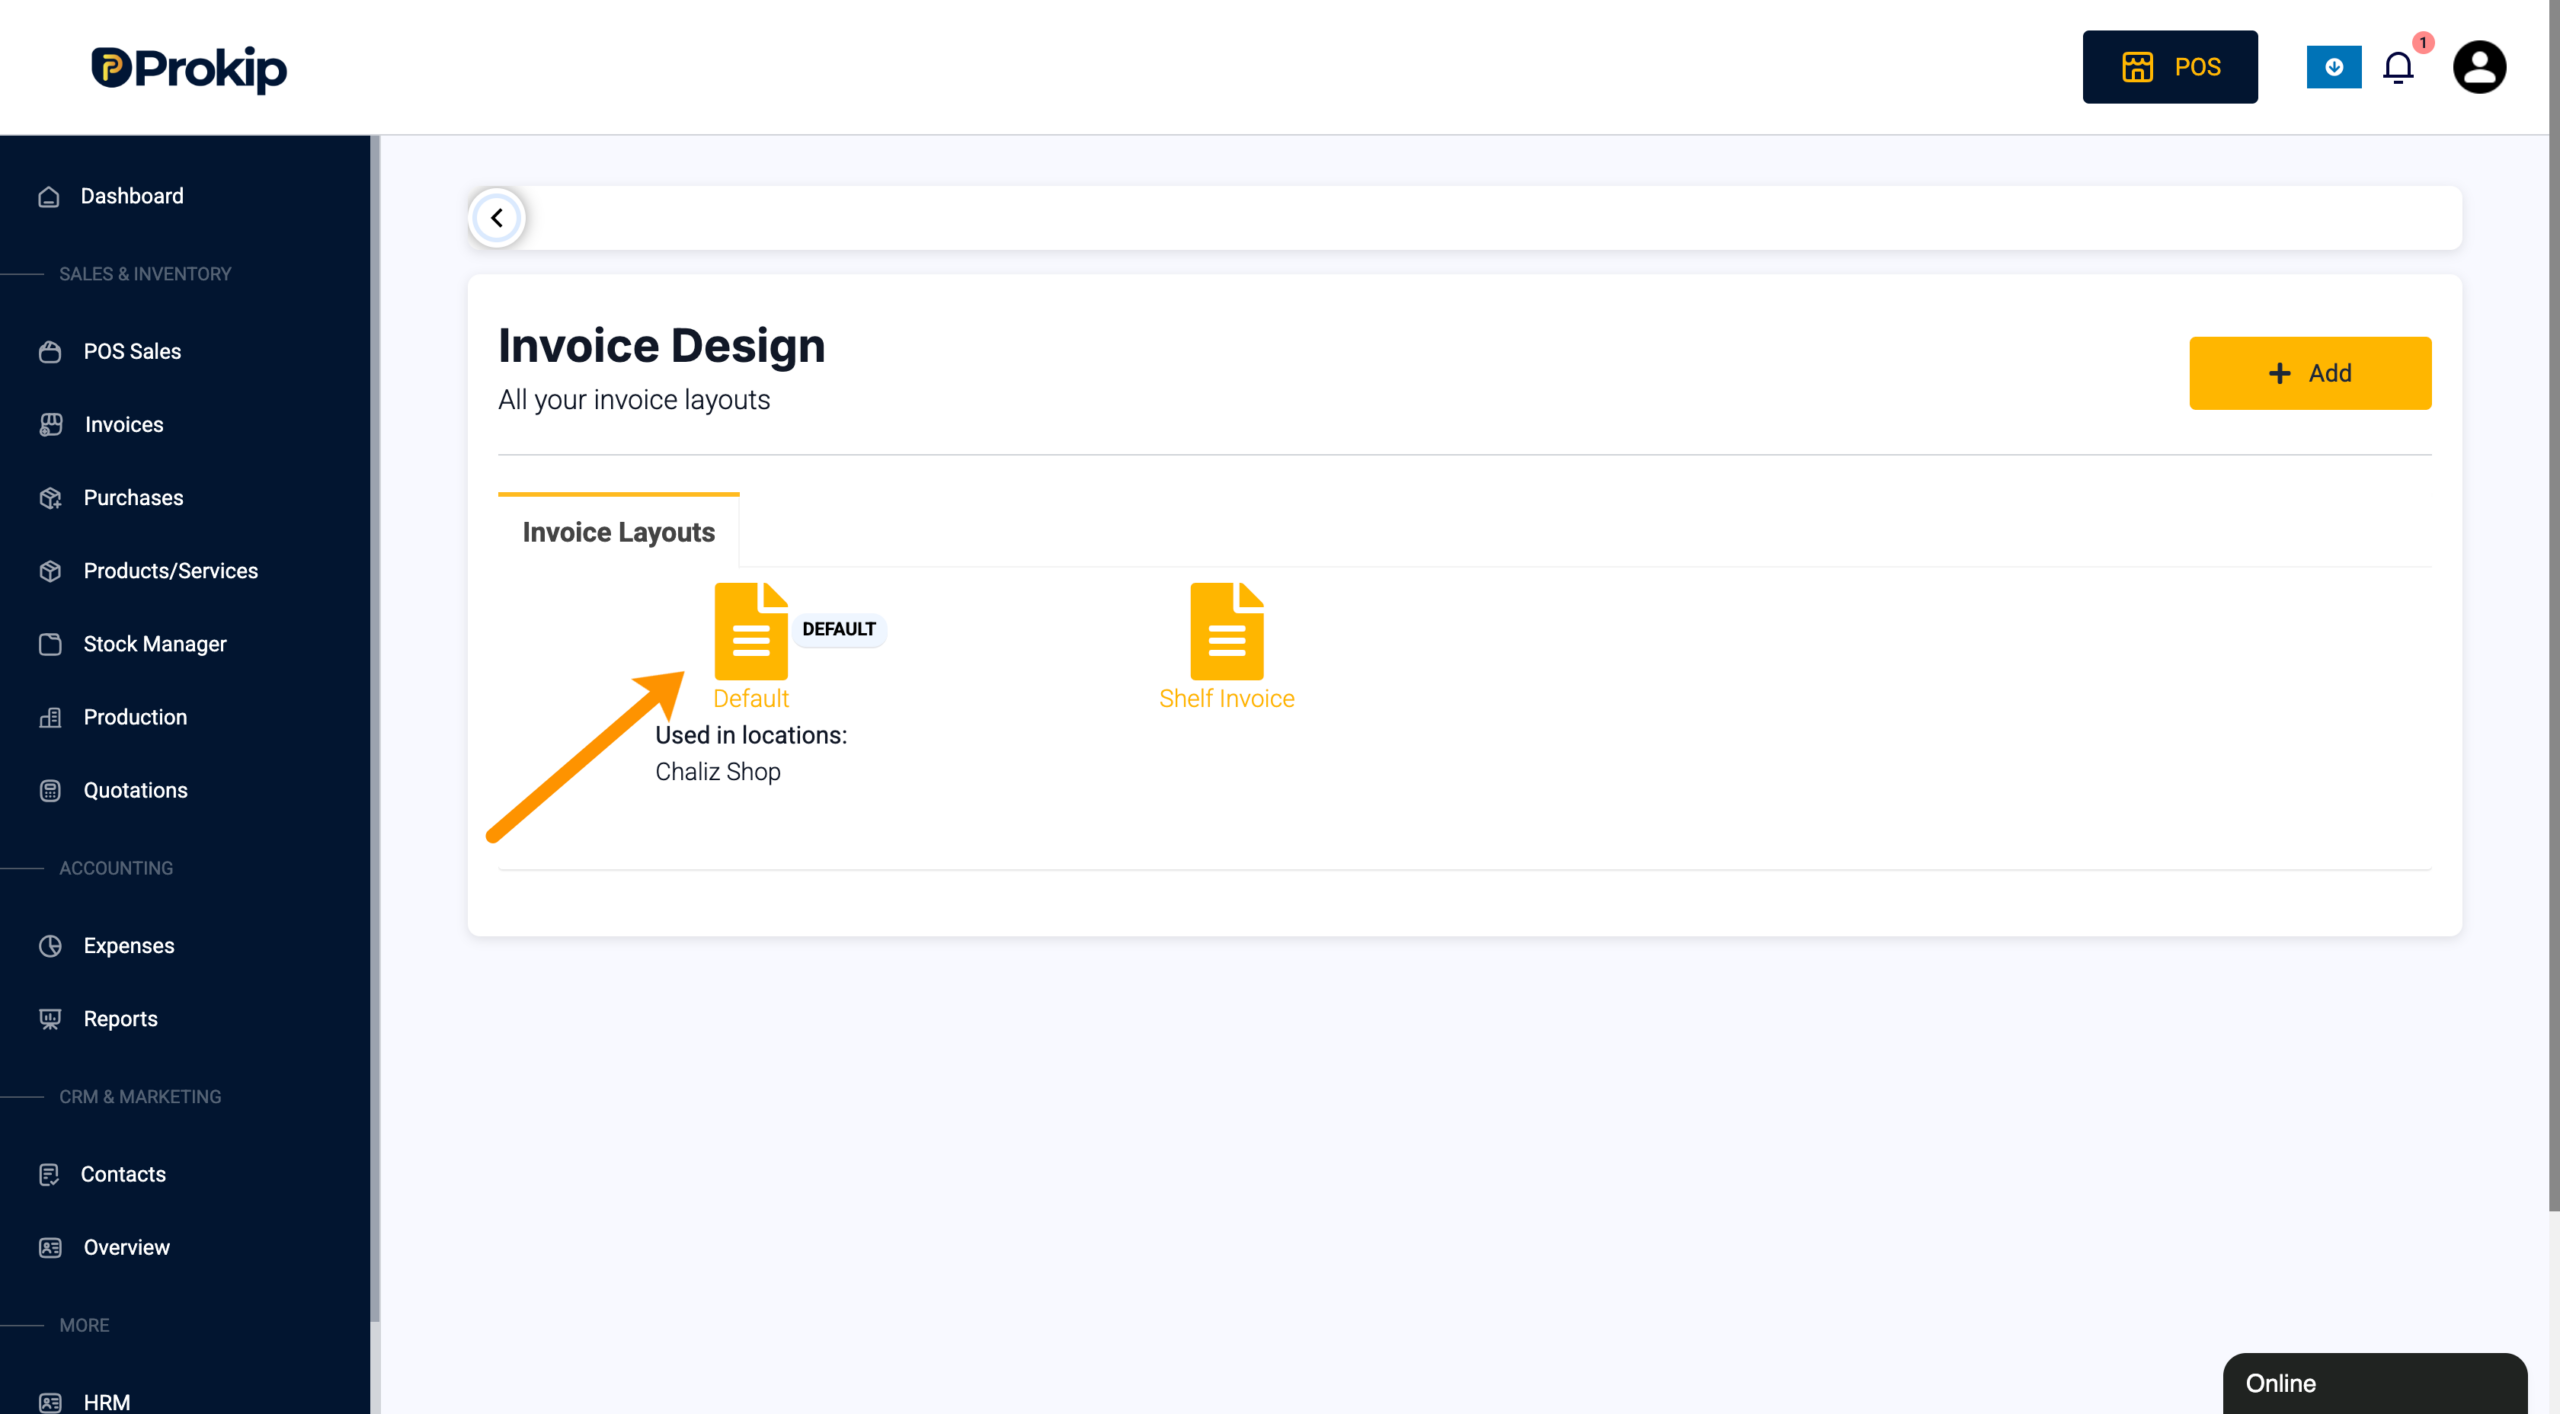
Setup
-
Locate Tax Label
-
Enter: VAT
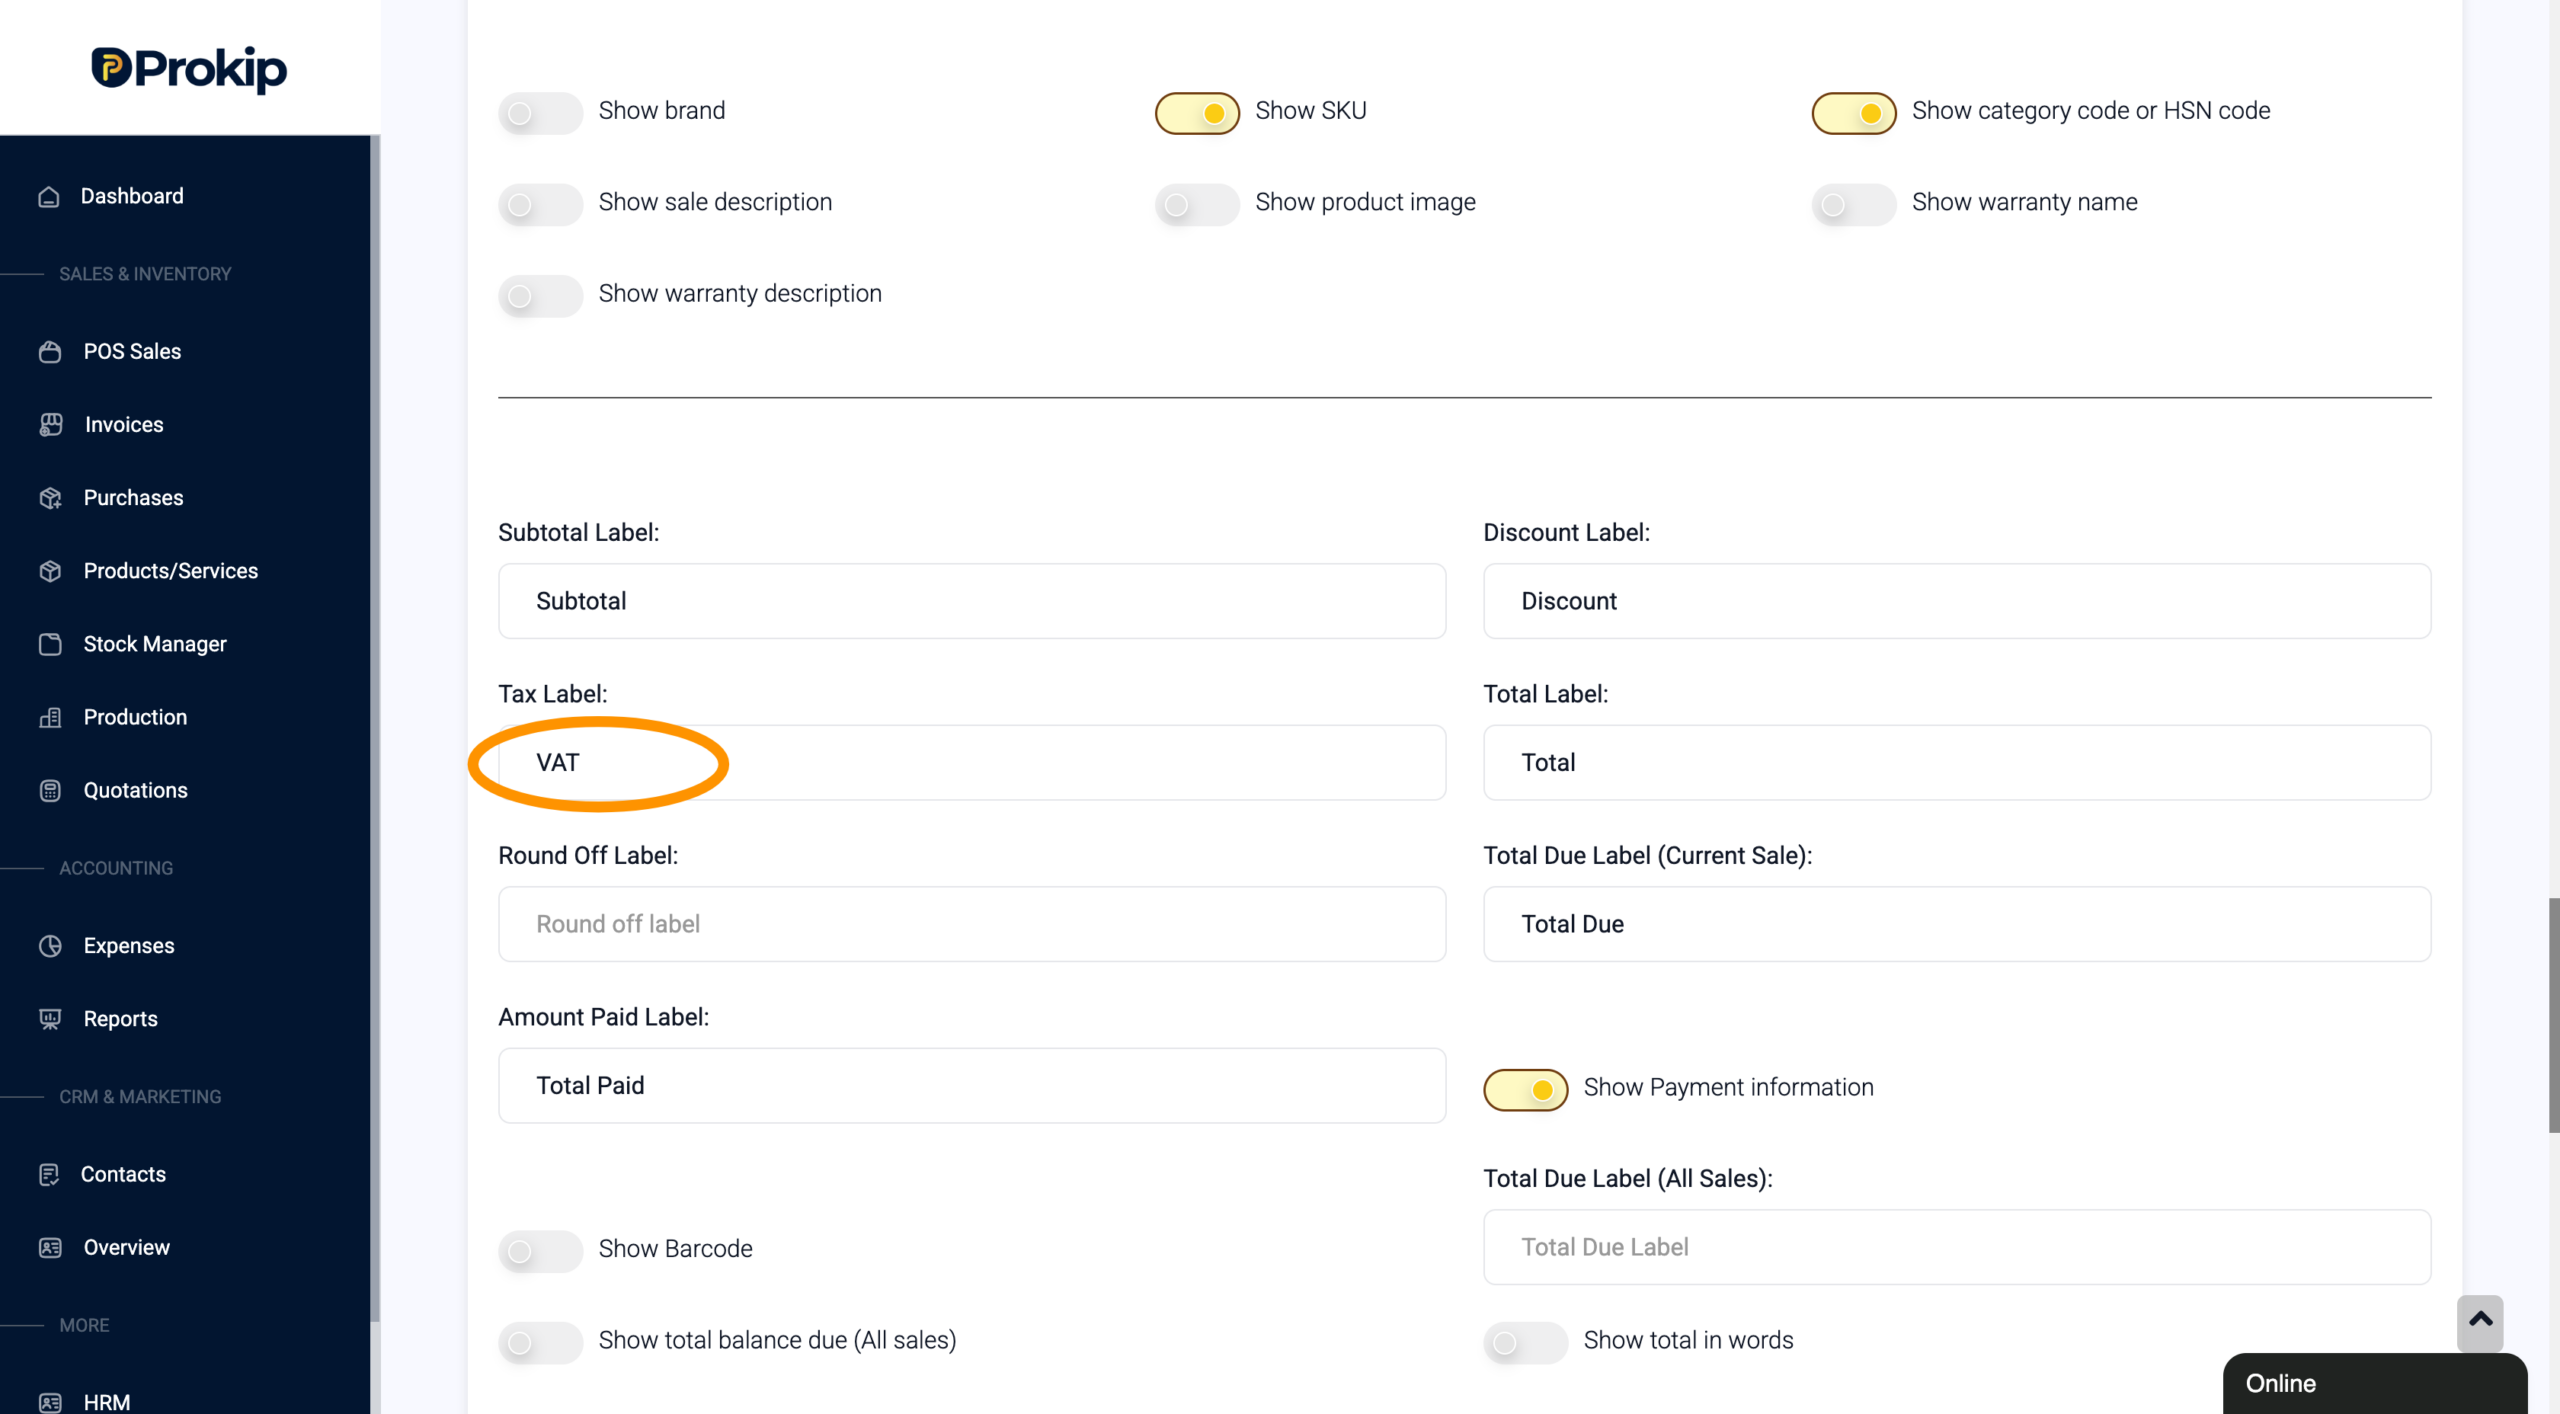
-
Click Update
VAT will now appear as a separate line item on invoices.
Step 4: Sync Tax Settings to Desktop App
To ensure your Desktop App reflects the latest tax settings:
Steps
-
Open the Desktop App
-
Ensure you are connected to the internet
-
Click Settings
-
Click Sync
-
Select:
-
Sync Settings
-
Taxes
-
Invoice Template
-
Your Desktop App will now reflect:
-
VAT settings
-
Default tax configuration
-
Invoice design updates
Key Notes
-
Tax must be created before it can be applied.
-
Default Sales Tax ensures automatic application across all sales.
-
Invoice Design settings control how tax appears to customers.
-
Sync is required to update the Desktop App with latest changes.