The Point of Sale (POS) feature in Prokip allows you to quickly record customer sales, accept payments, and issue receipts — all in one place.
Before You Start
- Ensure your products/services are already added to your Prokip account.
- Make sure you’ve set up payment methods (e.g., cash, bank transfer, mobile money).
- If you’re selling to a customer with an account, confirm their details are added under Contacts.
Steps to Record a Sale
Open POS
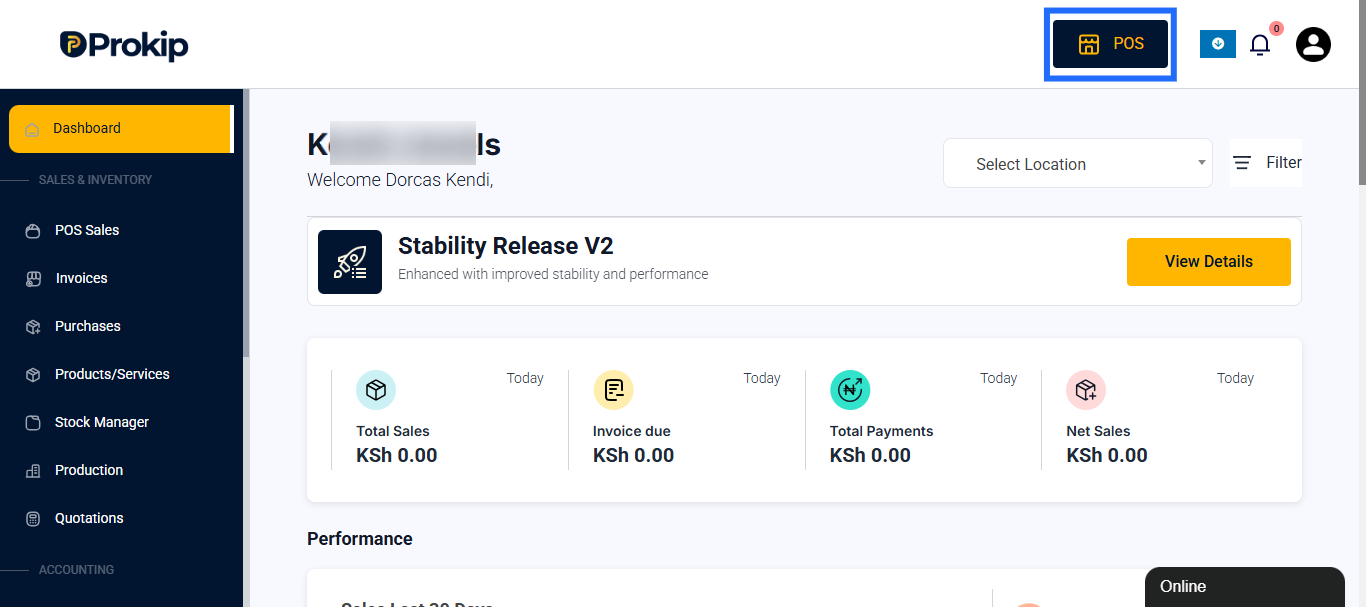
- From the dashboard, click POS.
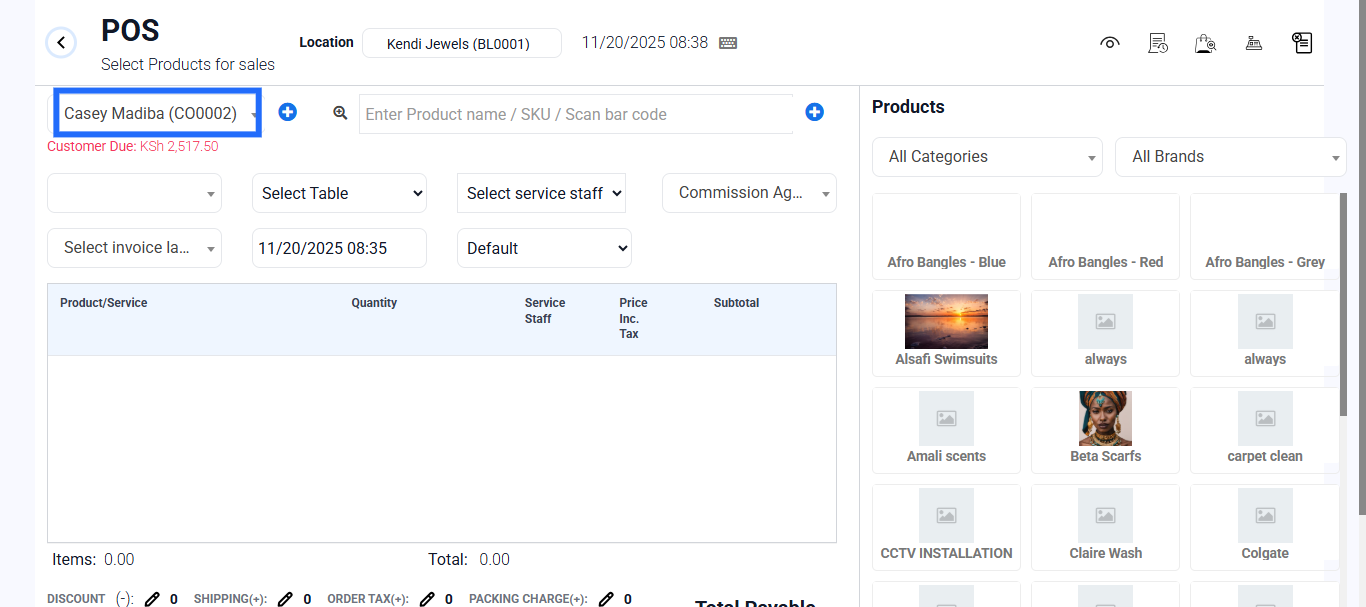
Select Customer (Optional)
- If the customer is in your contacts, search their name.
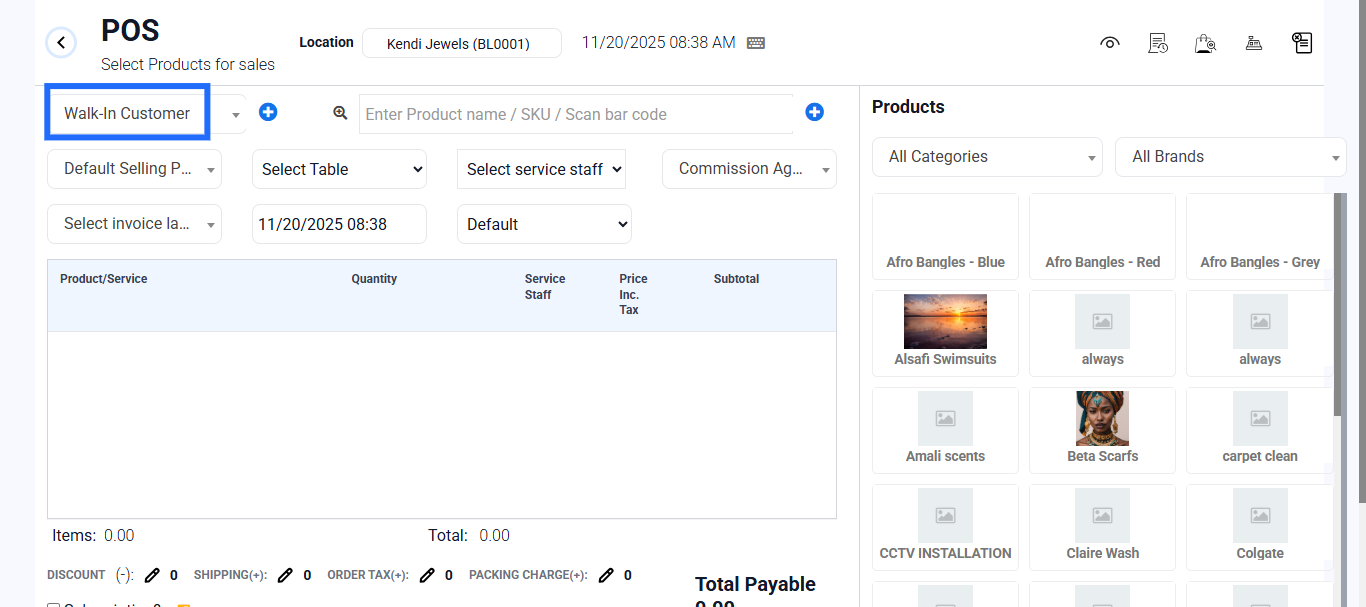
- If it’s a walk-in customer, leave as is “Walk-in Customer.”
Add Products/Services
- Use the search bar or product list to find items.
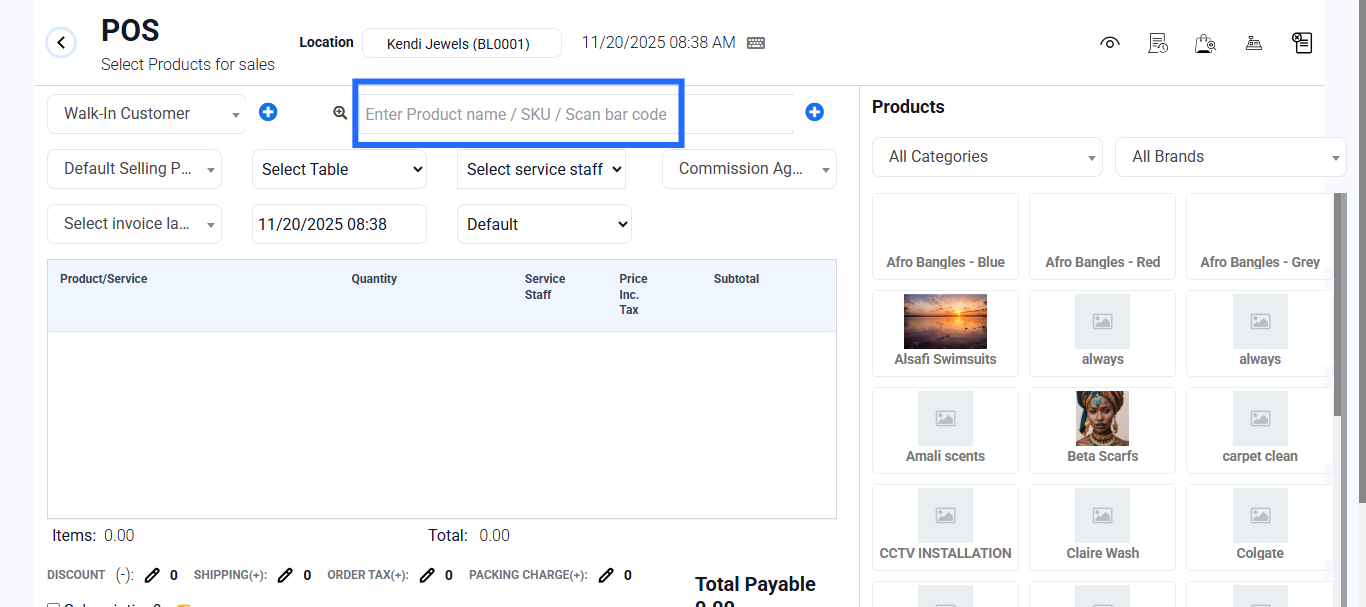
- Select the product to add them to the cart.
- Adjust quantity if needed.
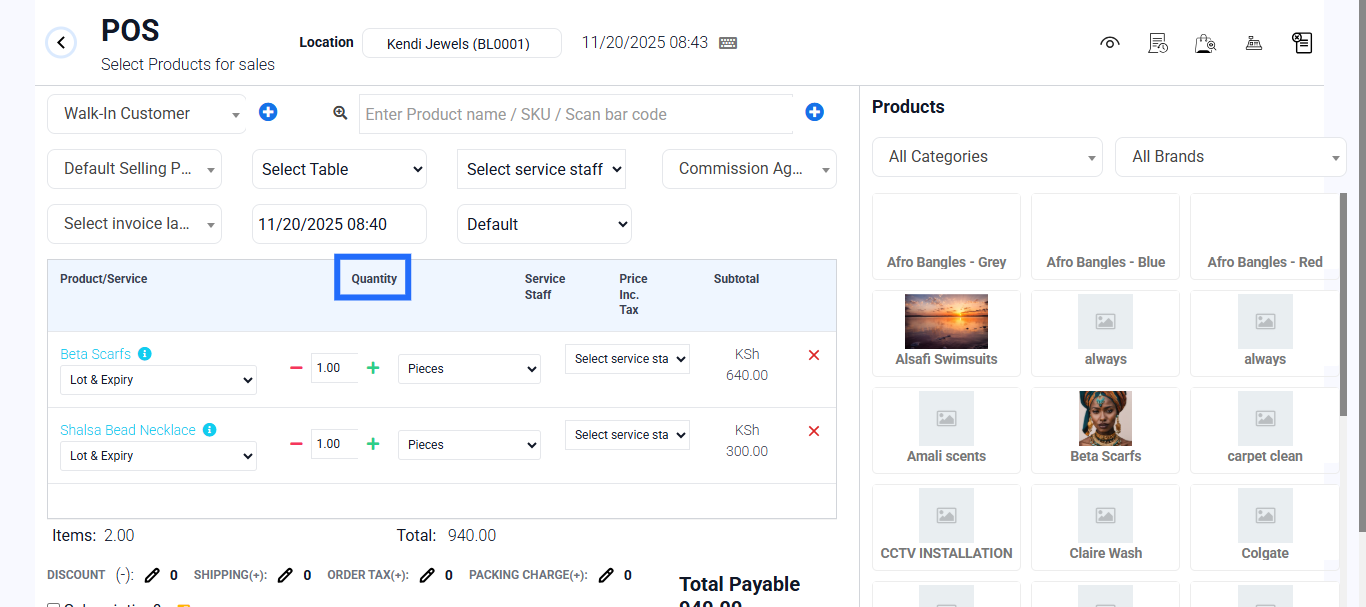
Review Cart
- Confirm product/service, price, and quantity.
- Apply discounts or tax (VAT) if required.
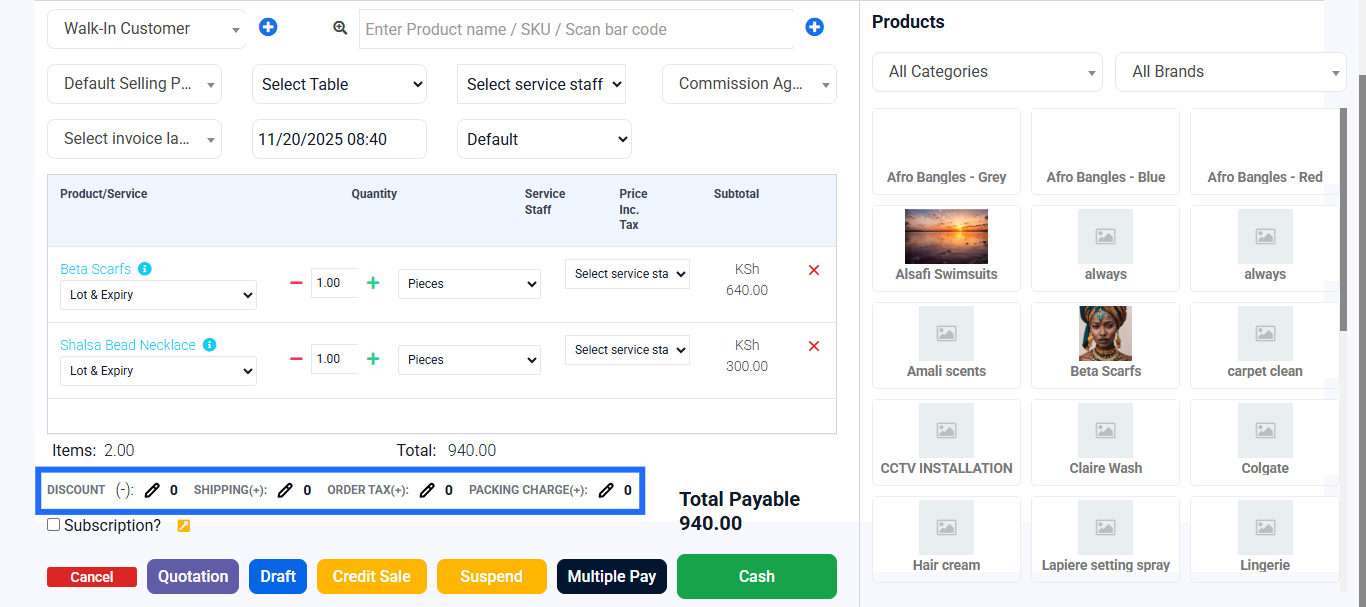
Payment
- Scroll down and click Multiple Pay if the customer is paying with more than one method.
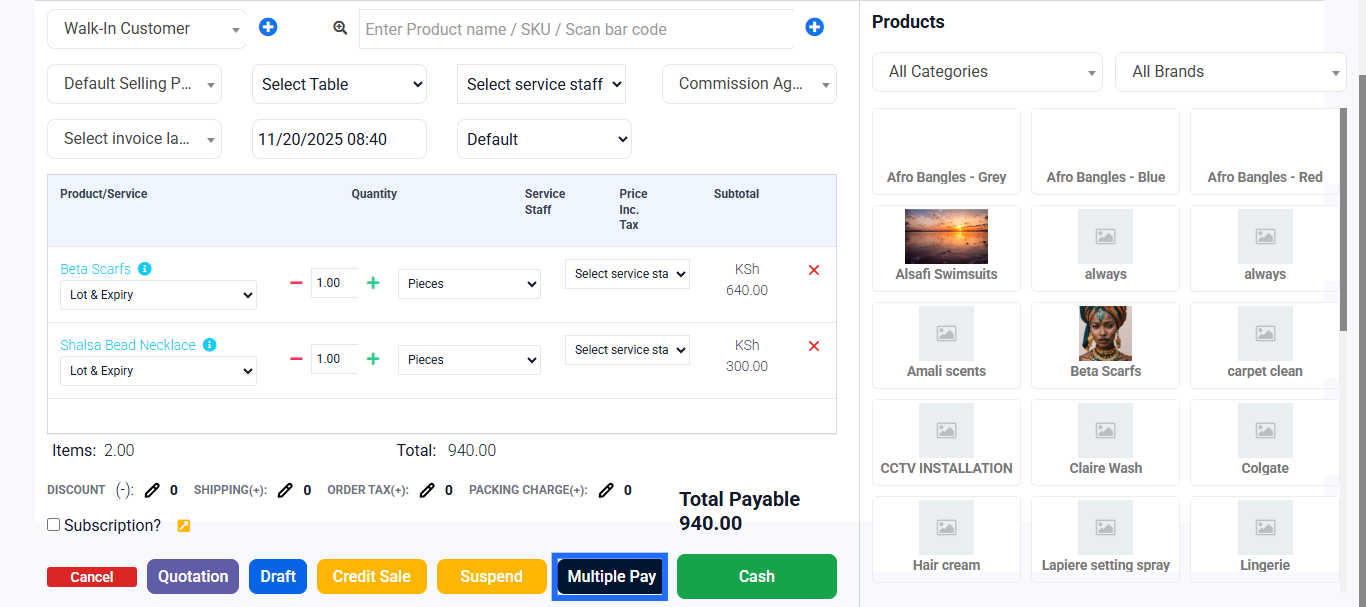
- Select payment method:
Cash; Quotation, Suspend(If you want to wait on payment before proceeding with receipt) Bank Transfer; Card/Mobile Money; Credit Sale (if customer has credit balance) - Enter the amount received.
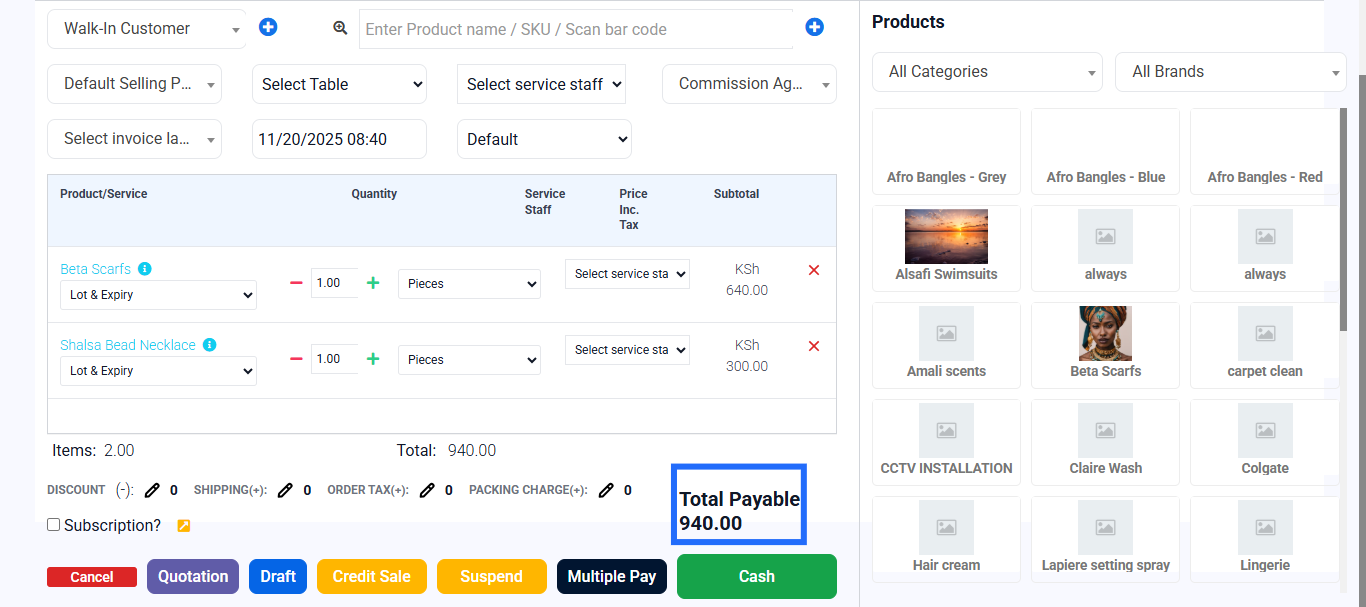
Finalize & Issue Receipt
- Click on payment method or Finalize Payment for Multiple Pay.
- The system records the sale and generates a receipt.
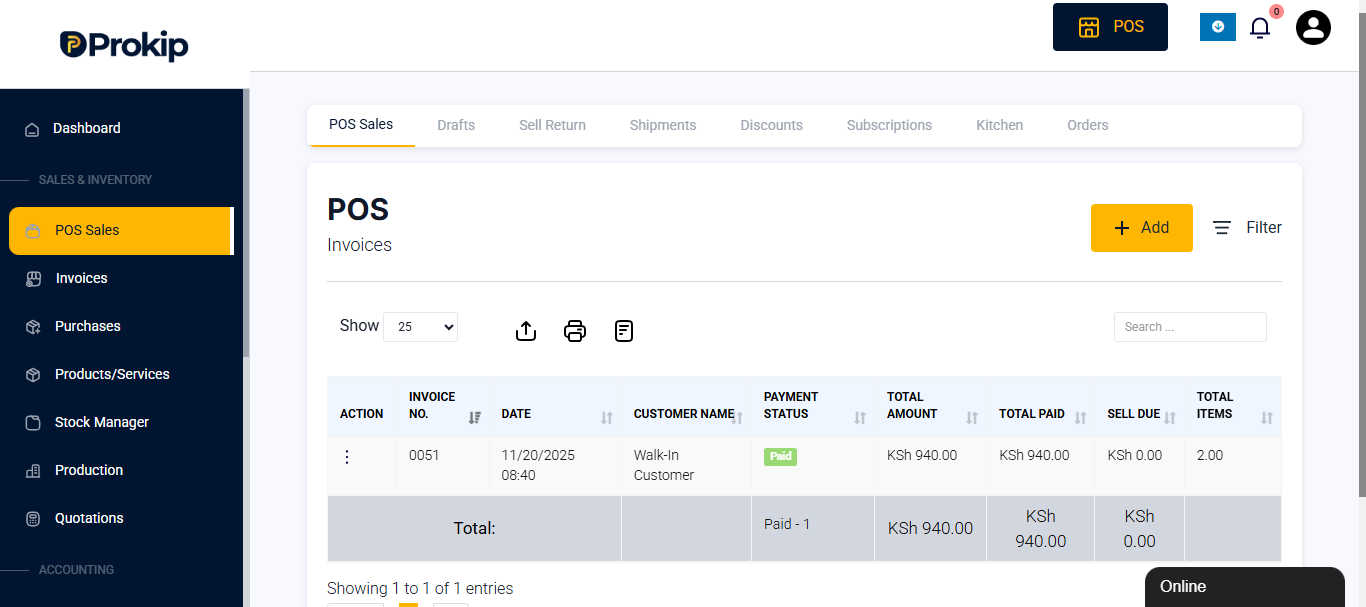
- You can view records of the transaction on POS sales page.
Best Practices
- Always double-check product quantities before finalizing.
- Record the correct payment method for accurate reports.
- Use customer accounts for regular buyers so you can track history and issue loyalty rewards later.
- For partial payments, use the Multiple Pay option to split across methods.
- Issue receipts immediately for transparency.